
WP Super Cache
Overview
One way to optimize WordPress is to install WP Super Cache, which can be done from your WordPress Dashboard under Plugin.
WP Super Cache is a web performance plugin that helps customers manage caching behavior of their website inside the WordPress Dashboard. It comes with a built-in feature as well as integrating other web performance features.
Pro Tip: We highly recommend testing the performance of your site using GTMetrix or Pingdom Tools. You may run tests before and after installing the WP Super cache Plugin to check the performance.
- Installation
- Configuration
- Step 1: WP Super Cache - General Settings
- Step 2: Advance Cache Configuration
- Miscellaneous
- Advanced
- Expiry Time & Garbage Collection
- Accepted Filenames & Rejected URLs
- Step 3: Content Delivery Network (CDN) Configuration - (optional)
- Step 4: Delete WP Expired and Content Pages
Installation
- Log in to the WordPress Admin.
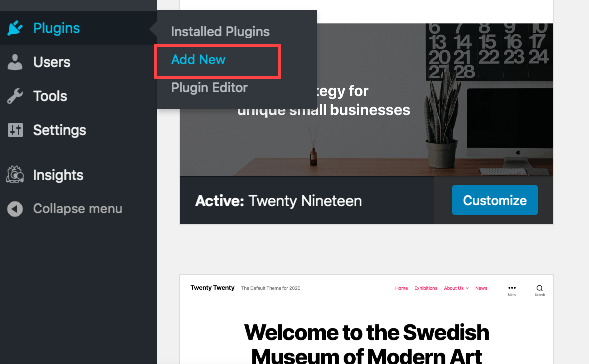
- Click the Plugins tab from the side navigation menu to the left, and select Add New.
- In the plugin search box, enter WP Super Cache and hit Enter.
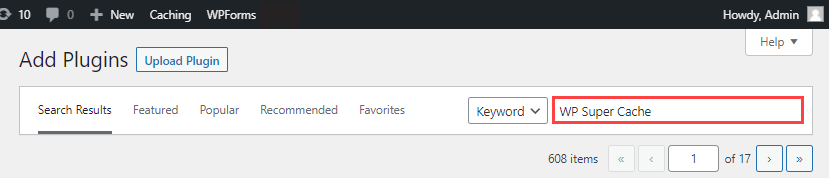
- Click Install Now.
Configuration
Complete the 4 Steps below to set up and use the WP Super Cache Plugin successfully.
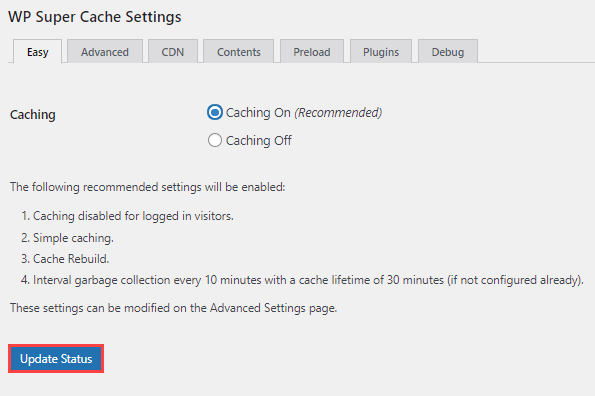
Step 1: WP Super Cache - General Settings
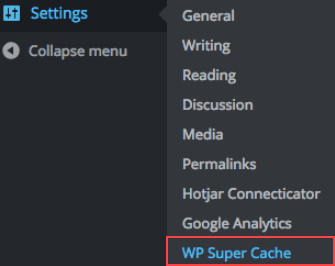
On the WordPress Dashboard, click the Settings tab from the side navigation menu to the left and select WP Super Cache.
Under the Easy tab from the navigation menu that stretches across the top of your screen, click the radio button for Caching On (Recommended) option and select the Update Status button.
Step 2: Advance Cache Configuration
Select the Advanced tab and configure the options to fit your website best.
Ensure that the Cache Delivery Method section is set to Simple (Recommended).

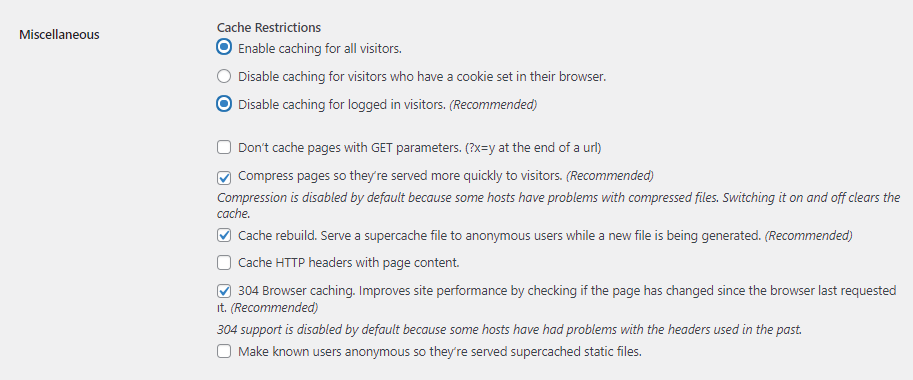
Miscellaneous
Under the Miscellaneous settings, make sure to put a checkmark to the following recommended categories:
- Enable caching for all visitors
- Disable caching for logged-in visitors
- Compress pages so they’re served more quickly to visitors
- Cache rebuild. Serve a supercache file to anonymous users while a new file is being generated
- 304 Browser caching. Improves site performance by checking if the page has changed since the browser last requested it
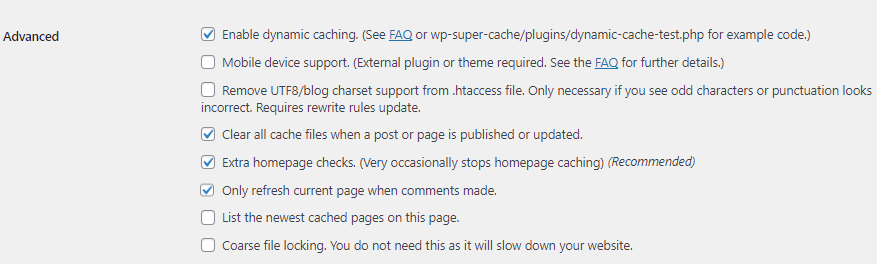
Advanced
On the Advanced section, make sure to put a checkmark to the following recommended categories:
- Enable dynamic caching
- Clear all cache files when a post or page is published or updated
- Extra homepage checks
- Only refresh the current page when comments are made
Expiry Time & Garbage Collection
Set up your timeout for your website cache by configuring Expiry Time & Garbage Collection settings. WP Super Cache plugin will store the cached version of a page for 30 minutes before generating a new copy.
You may safely double the number up to 3,600 seconds for standard websites, which is equivalent to one hour as long as the server won’t have to generate cached files so often.

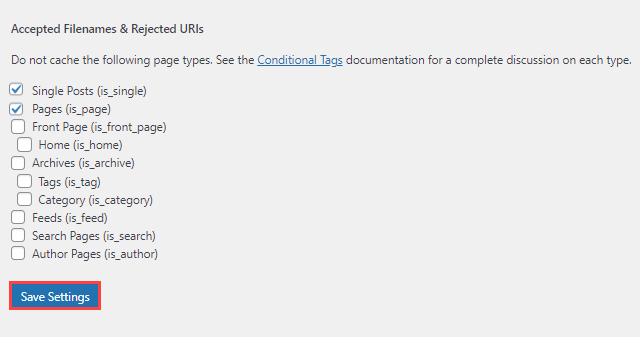
Accepted Filenames & Rejected URLs
Under the Accepted Filenames & Rejected URLs setting, you have the option to choose the types of pages you want to cache as a rule of thumb. Post and pages are safe to cache; apparently, high dynamic pages such as products and checkouts are better off not getting cached. Once you put a checkmark, then click the Save settings button.
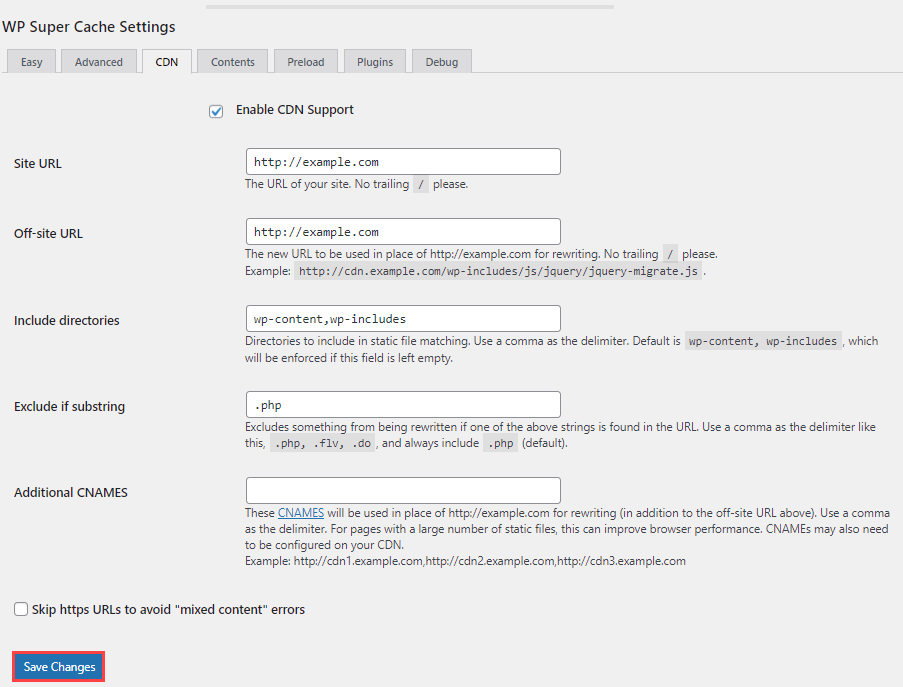
Step 3: Content Delivery Network (CDN) Configuration - (optional)
Select the CDN tab and put a checkmark for the Enable CDN Support box.
- In the box next to the Site URL section, enter your website URL
- In the box next to the Off-site URL section, make sure you include the edge Address prefixed(e.g., http:// or https://)
- Enter any additional delivery domains (such as a custom URL) in the box next to Additional CNAMES
- To save the settings, click the Save Changes button
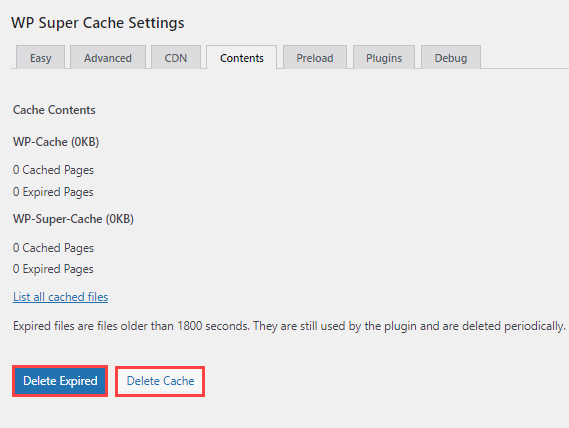
Step 4: Delete WP Expired and Content Pages
Select the Contents tab and choose either Delete Expired or click the Delete Cache button below to ensure that the cached content and expired pages are cleared.
If you need further assistance, feel free to contact us via Chat or Phone:
- Chat Support - While on our website, you should see a CHAT bubble in the bottom right-hand corner of the page. Click anywhere on the bubble to begin a chat session.
- Phone Support -
- US: 888-401-4678
- International: +1 801-765-9400
You may also refer to our Knowledge Base articles to help answer common questions and guide you through various setup, configuration, and troubleshooting steps.