
How To Install WordPress - WordPress Manual Installation Guide
Overview
This article will show you how to install and configure WordPress manually. We'll tell you what tools you need and walk you through each step of the installation process. Let's get started.
WordPress is the world's most popular web platform and Content Management System (CMS). Manual installation will almost certainly take longer than one-click installation. However, by the end, you'll have the chance to learn how the platform works underneath the hood. This provides you with additional insight when troubleshooting and dealing with any issues that may arise, as well as a way to become more confident with WordPress and its customization.
- Step 1: Download WordPress
- Step 2: Upload WordPress
- Step 3: Create MySQL Database and User and Assign Privileges
- Step 4: Configure wp-config.php
- Step 5: Run the Installation
- Step 6: Complete the Installation
Step 1: Download WordPress
Download the latest WordPress package and unzip the downloaded file to a folder on your local computer.
Step 2: Upload WordPress
When it comes to uploading WordPress to your hosting account, you have three options. When you unzipped the file in Step 1, you were left with a folder named wordpress, and the contents of that folder must be uploaded to the file manager of your hosting account. You can do this in one of three ways:
- Upload via FTP - See FTP - General FTP Settings for more information.
- Upload via File Manager - See File Manager - How to Upload Files for instructions.
- Upload via SSH - See SSH Access for instructions.
Step 3: Create MySQL Database and User and Assign Privileges
Create a MySQL Database
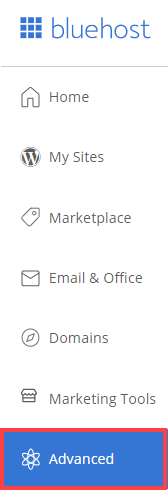
- Log into your Bluehost control panel and navigate to the Database section.
- For the Bluerock Accounts - Click the Advanced tab from the side navigation menu to the left.
- For the Legacy Accounts - Click the cPanel in the sub-menu that stretches across the top of your screen.
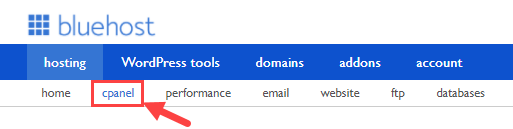
Note: Legacy accounts will feature a horizontal navigation bar at the top of the screen, while Bluerock account users will see a vertical navigation menu on the left-hand side of the screen. If you are still unsure what interface your account uses, please see Bluerock vs. Legacy to determine which step to follow.
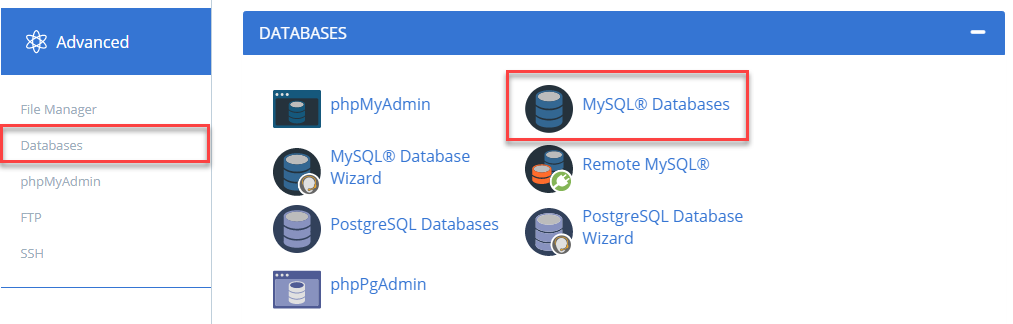
- For the Bluerock Accounts - Click the Advanced tab from the side navigation menu to the left.
- Under the Database section, choose MySQL databases.
- In the New Database field, type a name for the database.
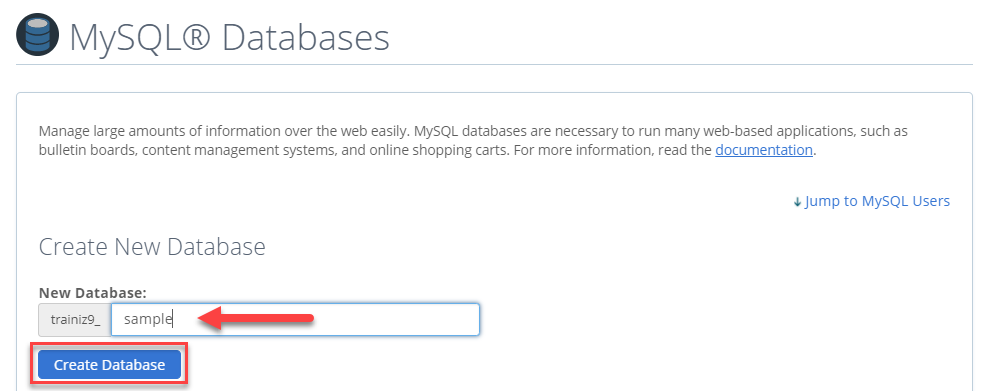
- Click Create Database.
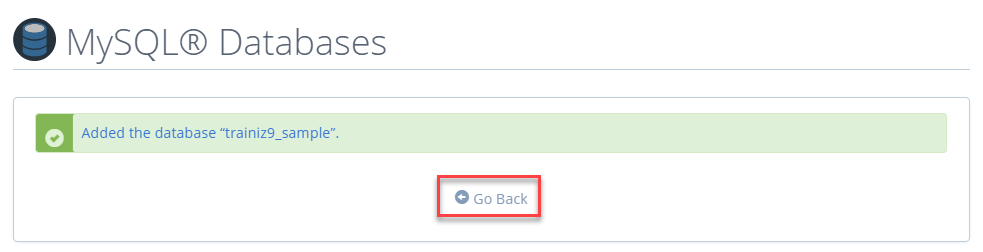
- Click Go Back.
- The new database will appear in the Current Database table.
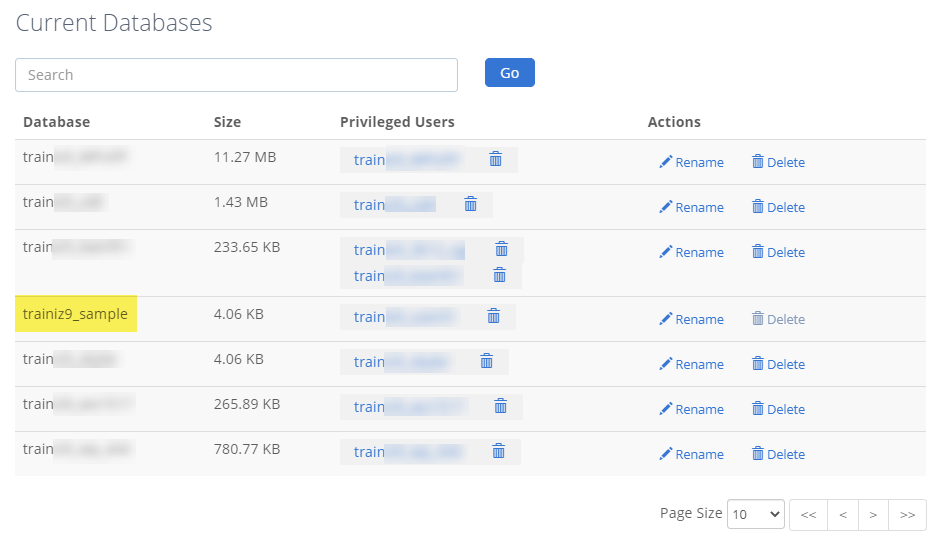
- The new database will appear in the Current Database table.
Create a Database User
After creating the database, a user must be created and their privileges added to the newly created database.
Important: MySQL user accounts must be created separately from mail and web administrator accounts.
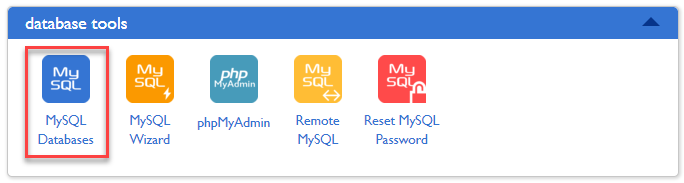
- Under the Database section, select MySQL databases.
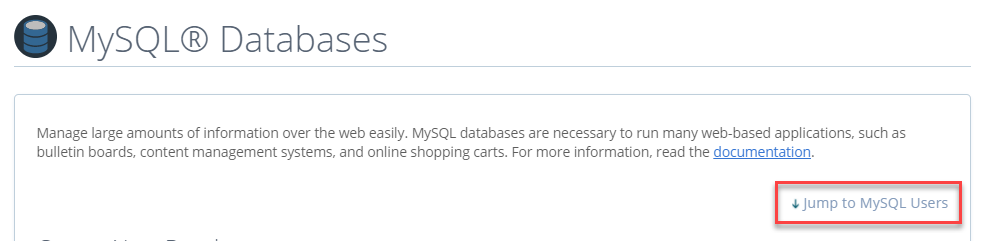
- Locate the MySQL Users section of the MySQL Databases tool. To quickly find this section, click Jump to MySQL Users.
- Under Add New User, enter a username.
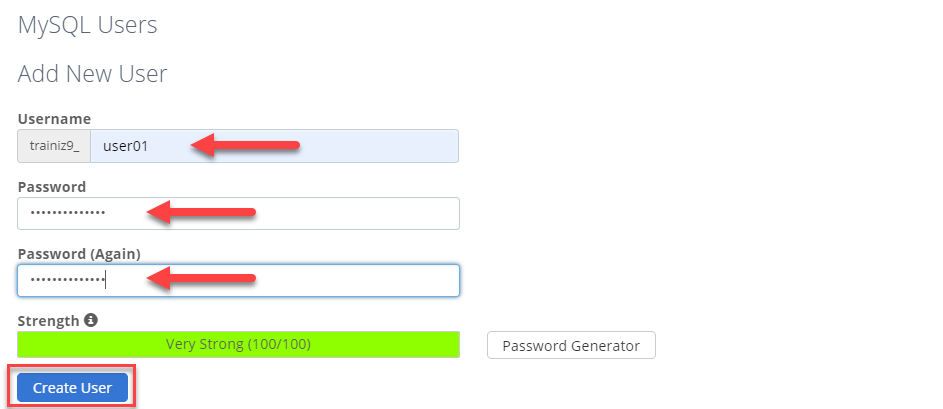
Note: The username must be 7 letters or shorter.
- Enter a password in the Password field.
Tip: For help generating a strong password, click the Generate Password button.
- Retype the password in the Password (Again) field.
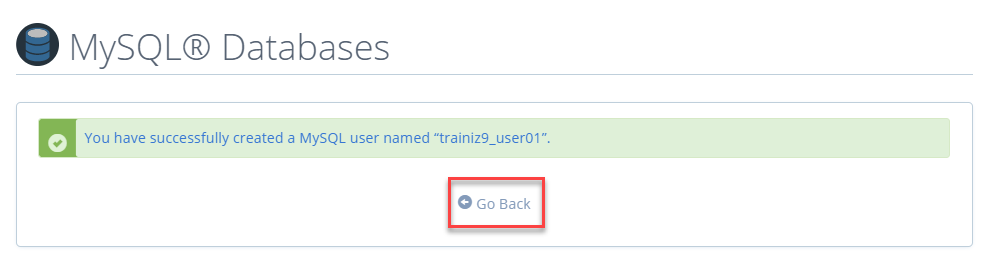
- Click Create User.
Assign a Database User
Privileges define how the user can interact with the database. For example, they will determine whether or not the user can add and delete information.
- Under the Database section, select MySQL databases.
- Under Add User to Database, select a user from the User drop-down menu.
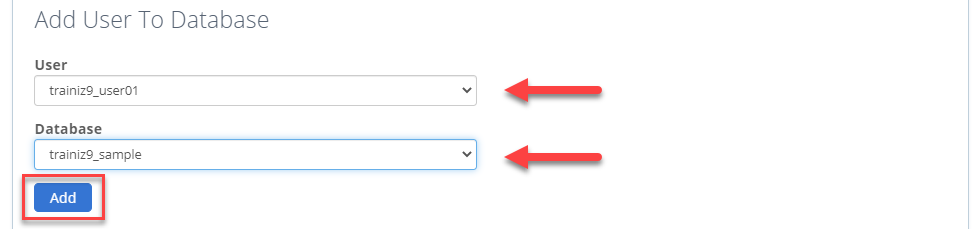
- From the Database drop-down menu, select the database to which you wish to allow the user access.
- Click Add.
- From the MySQL Account Maintenance screen, select the privileges you wish to grant the user or assign ALL PRIVILEGES.
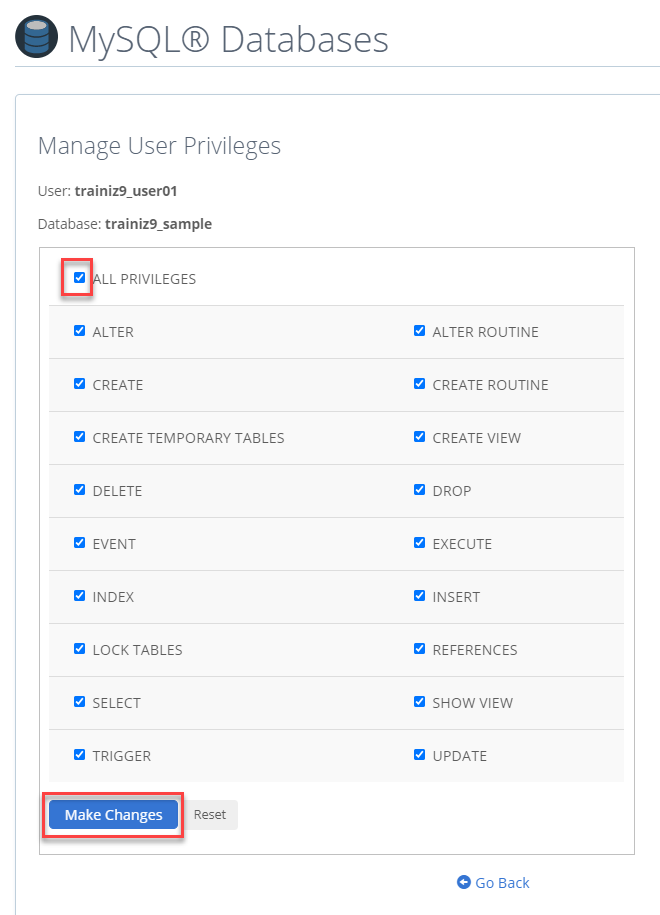
- Click Make Changes.
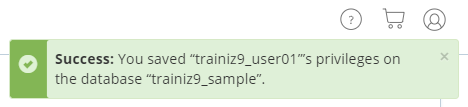
Your new database is now ready for WordPress.
Step 4: Configure wp-config.php
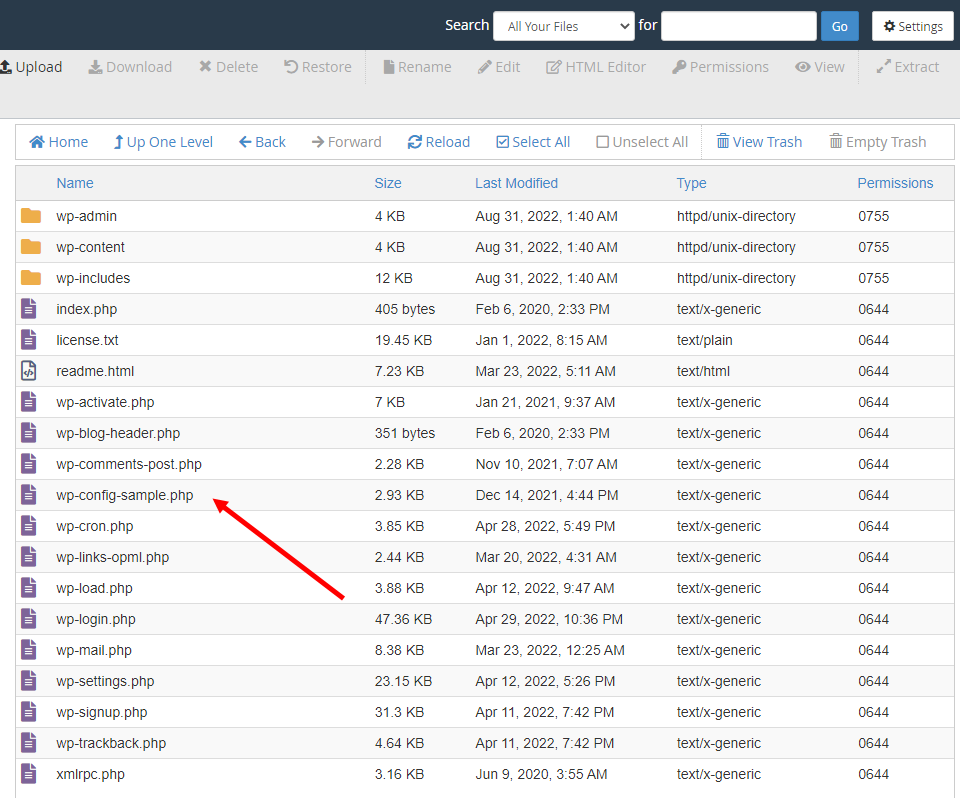
The database information is contained in the wp-config-sample.php file, which instructs the WordPress application on which database to pull data. This step must be completed to ensure that the WordPress installation is associated with the correct database information.
The wp-config-sample.php file can be found in File Manager in the WordPress installation folder. The default folder for your primary domain is public_html, so the steps below apply to that folder.
Bluerock
- Click the Advanced tab from the side navigation menu to the left.
- Locate the File Manager tool under the Files section.
- Navigate to the website's folder.
Note: If this is not the primary domain, identify which folder the website is being placed in.
- Locate the wp-config-sample.php file.
- Right-click this file, then choose the Rename option.
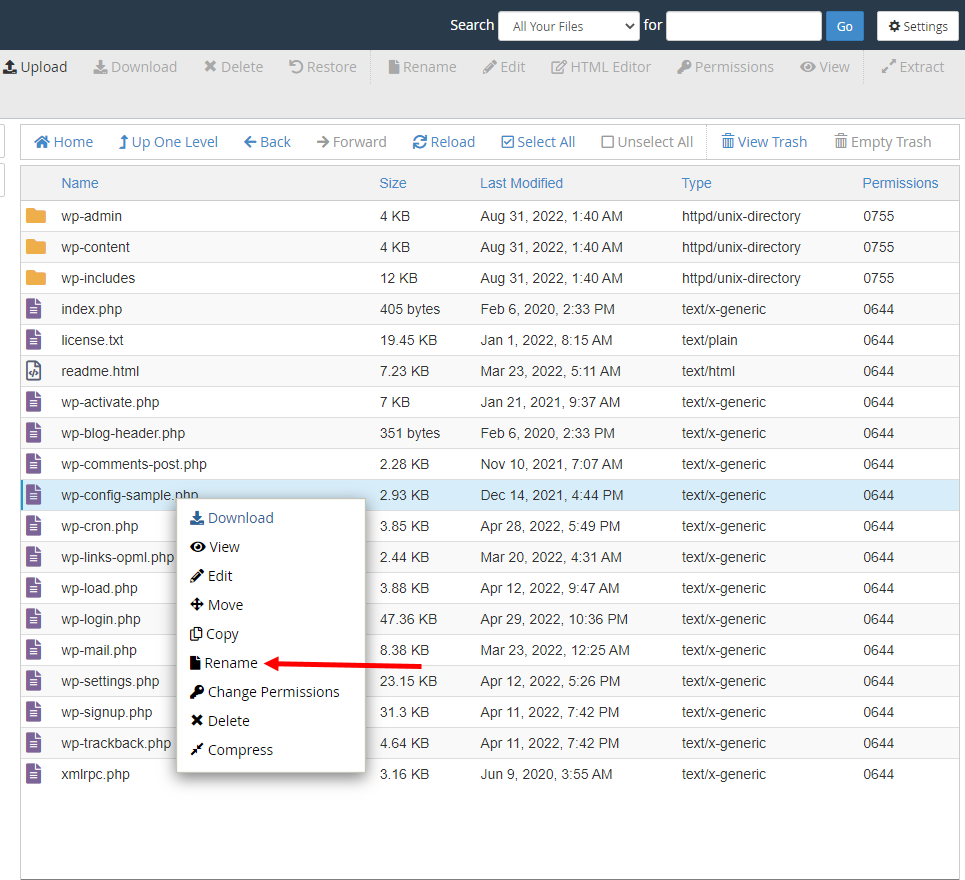
- Rename the file to wp-config.php.
- Right-click the new wp-config.php file.
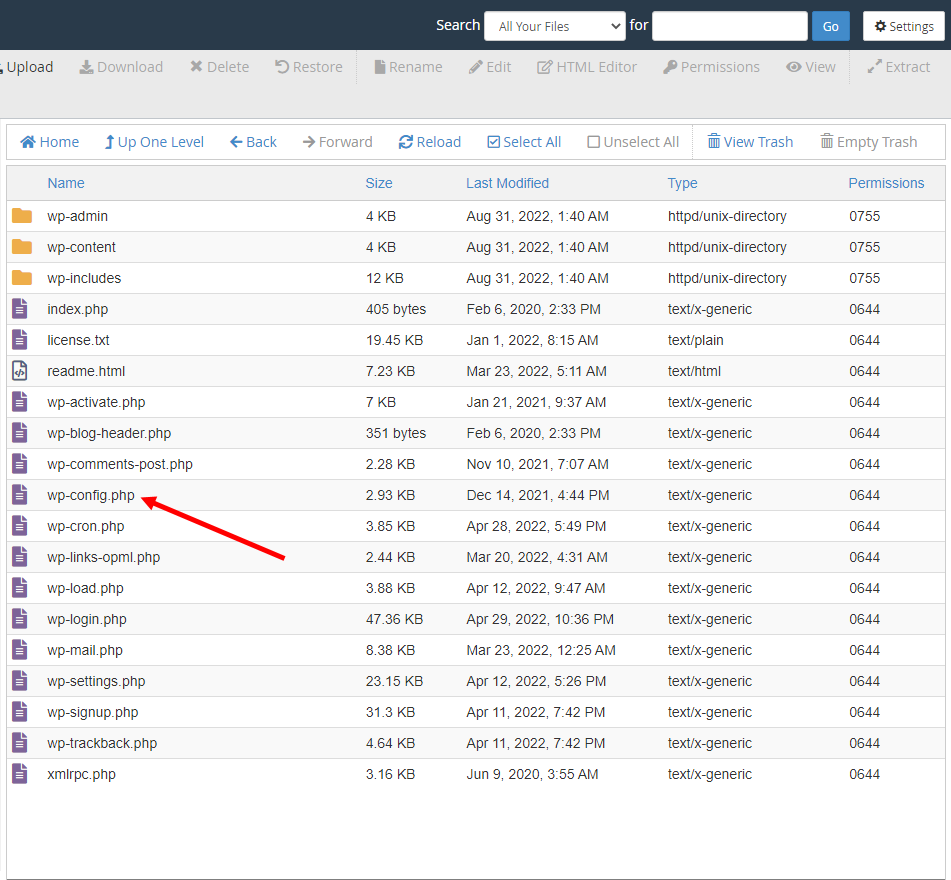
- Right-click this file, then choose the Edit option.
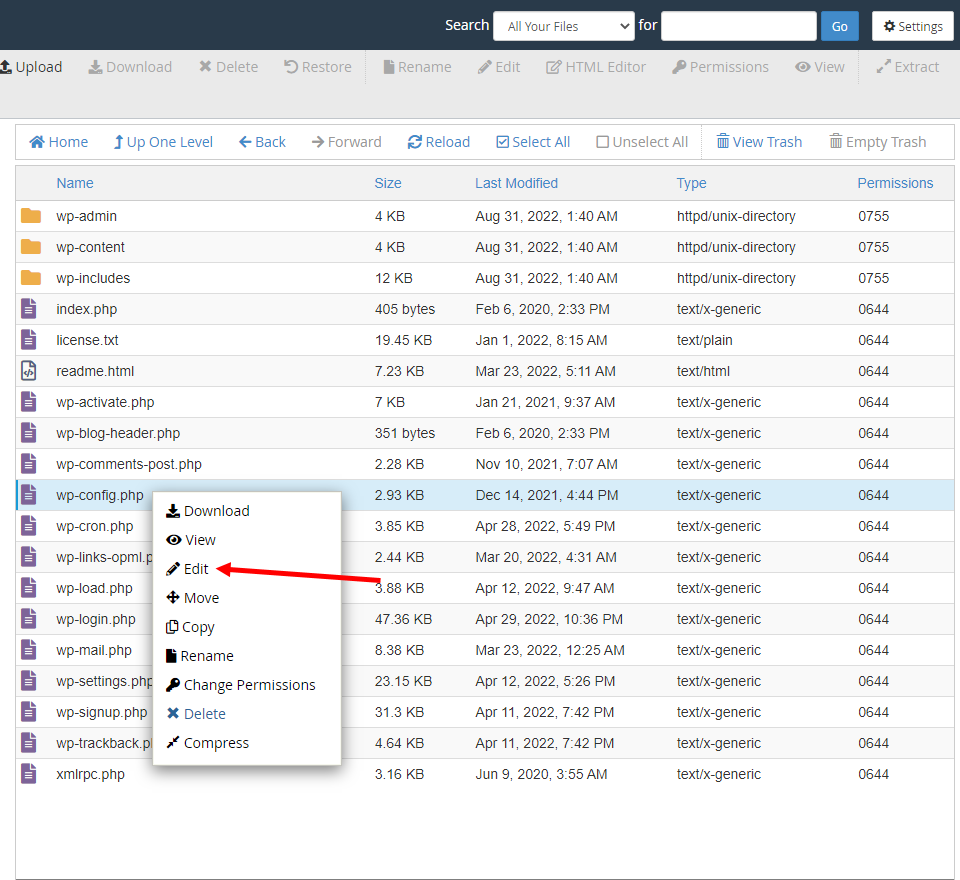
- New windows appear and click the edit button again.
- A new pop-up window will appear. Select the Edit option.
- Look for the following information when the file opens
/** The name of the database for WordPress */ define( 'DB_NAME', 'database_name_here' ); /** MySQL database username */ define( 'DB_USER', 'username_here' ); /** MySQL database password */ define( 'DB_PASSWORD', 'password_here'' ); /** MySQL hostname */ define( 'DB_HOST', 'localhost' );- Replace database_name_here with the name of the database you created (above in Step 3: Create MySQL Database and User).
- Replace username_here with the username of the database you created.
- Replace password_here with the password of the database that you created.
Warning: Note: Make sure there are no spaces before or after your database name, username, and password.
- Once finished, click the Save Changes button in the upper right corner, followed by Close to exit and return to the File Manager.
Legacy
- Click the cpanel tab from the navigation menu that stretches across the top of your screen.
- Locate the File Manager tool under the files category.
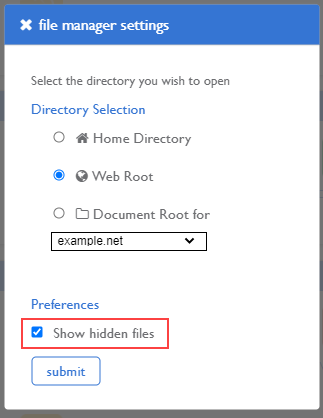
- Choose to open Web Root, show hidden files, and click the Submit button.
- Navigate to the website's folder.
Note: If this is not the primary domain, identify which folder the website is being placed in.
- Locate the wp-config-sample.php file.
- Right-click this file, then choose the Rename option.
- Rename the file to wp-config.php.
- Right-click the new wp-config.php file.
- Right-click this file, then choose the Edit option.
- A new pop-up window will appear. Select the Edit option.
- Look for the following information when the file opens:
/** The name of the database for WordPress */ define( 'DB_NAME', 'database_name_here' ); /** MySQL database username */ define( 'DB_USER', 'username_here' ); /** MySQL database password */ define( 'DB_PASSWORD', 'password_here'' ); /** MySQL hostname */ define( 'DB_HOST', 'localhost' );- Replace database_name_here with the name of the database you created (above in Step 3: Create MySQL Database and User).
- Replace username_here with the username of the database you created.
- Replace password_here with the password of the database that you created.
Warning: Note: Make sure there are no spaces before or after your database name, username, and password.
- Once finished, click the Save Changes button in the upper right corner, followed by Close to exit and return to the File Manager.
Step 5: Run the Installation
To run the installation script, open a new browser window and enter your domain. You will be automatically redirected to one of the following URLs, depending on where you installed the script:
You should be redirected if you uploaded WordPress to the domain's root folder.
https://example.com/wp-admin/install.php
If you put WordPress in a subfolder of your domain's directory, the URL will look like this:
https://example.com/yoursubfolder/wp-admin/install.php
Important: Substitute 'example.com' for your actual domain name.
Step 6: Complete the Installation
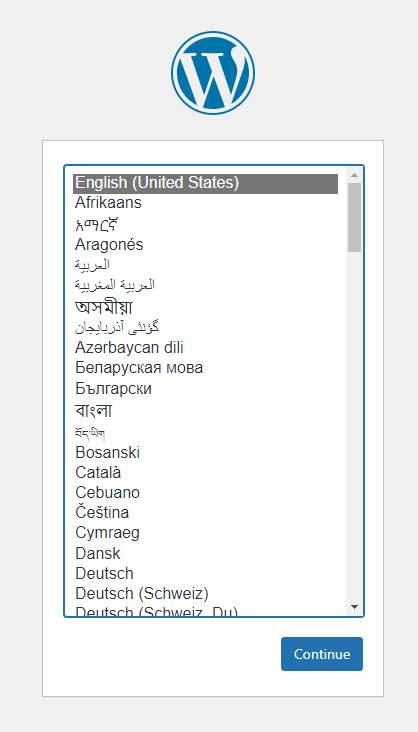
- When you navigate your correct WordPress URL in a browser, you will be prompted to select your preferred language. Choose your preferred language and then press the Continue button.
- Once you are on the Welcome page, fill out the following fields under the Information needed section:
- Site Title: This can be changed at any time.
- Username: This is the site's admin username. We strongly advise against using 'admin' because it can pose a security risk.
- Password: A strong password will be generated for you automatically, but you can create your own. The password strength indicator will tell you how secure your password is.
- Your Email: Login information will be sent to this email address, so make sure it is one that you have access to.
- Search Engine Visibility: Leave this unchecked if you want your website to appear in search engine results. Check this box if you do not want your site to be indexed.
- Click the Install WordPress button, and you should be taken to a final screen that says, "WordPress has been installed; thank you, and enjoy!" It will show the username you selected on the previous page and a placeholder for your password.
- That's it; you can now log in to your WordPress site.
If you need further assistance, feel free to contact us via Chat or Phone:
- Chat Support - While on our website, you should see a CHAT bubble in the bottom right-hand corner of the page. Click anywhere on the bubble to begin a chat session.
- Phone Support -
- US: 888-401-4678
- International: +1 801-765-9400
You may also refer to our Knowledge Base articles to help answer common questions and guide you through various setup, configuration, and troubleshooting steps.