
How to Create Invoices for your Clients with Maestro
The Maestro dashboard allows you to customize and create professional-looking invoices for your clients.
With the new invoicing tool, you can bill your clients for your products and services and send invoices with beautifully designed templates. You can also customize your invoice to suit your brand and business - choose a background color, add your company logo, set your desired serialized invoice number, and personalize the invoice with your tax id and payment details.
Read on to understand how this works.
Getting Started with the Invoicing Tool
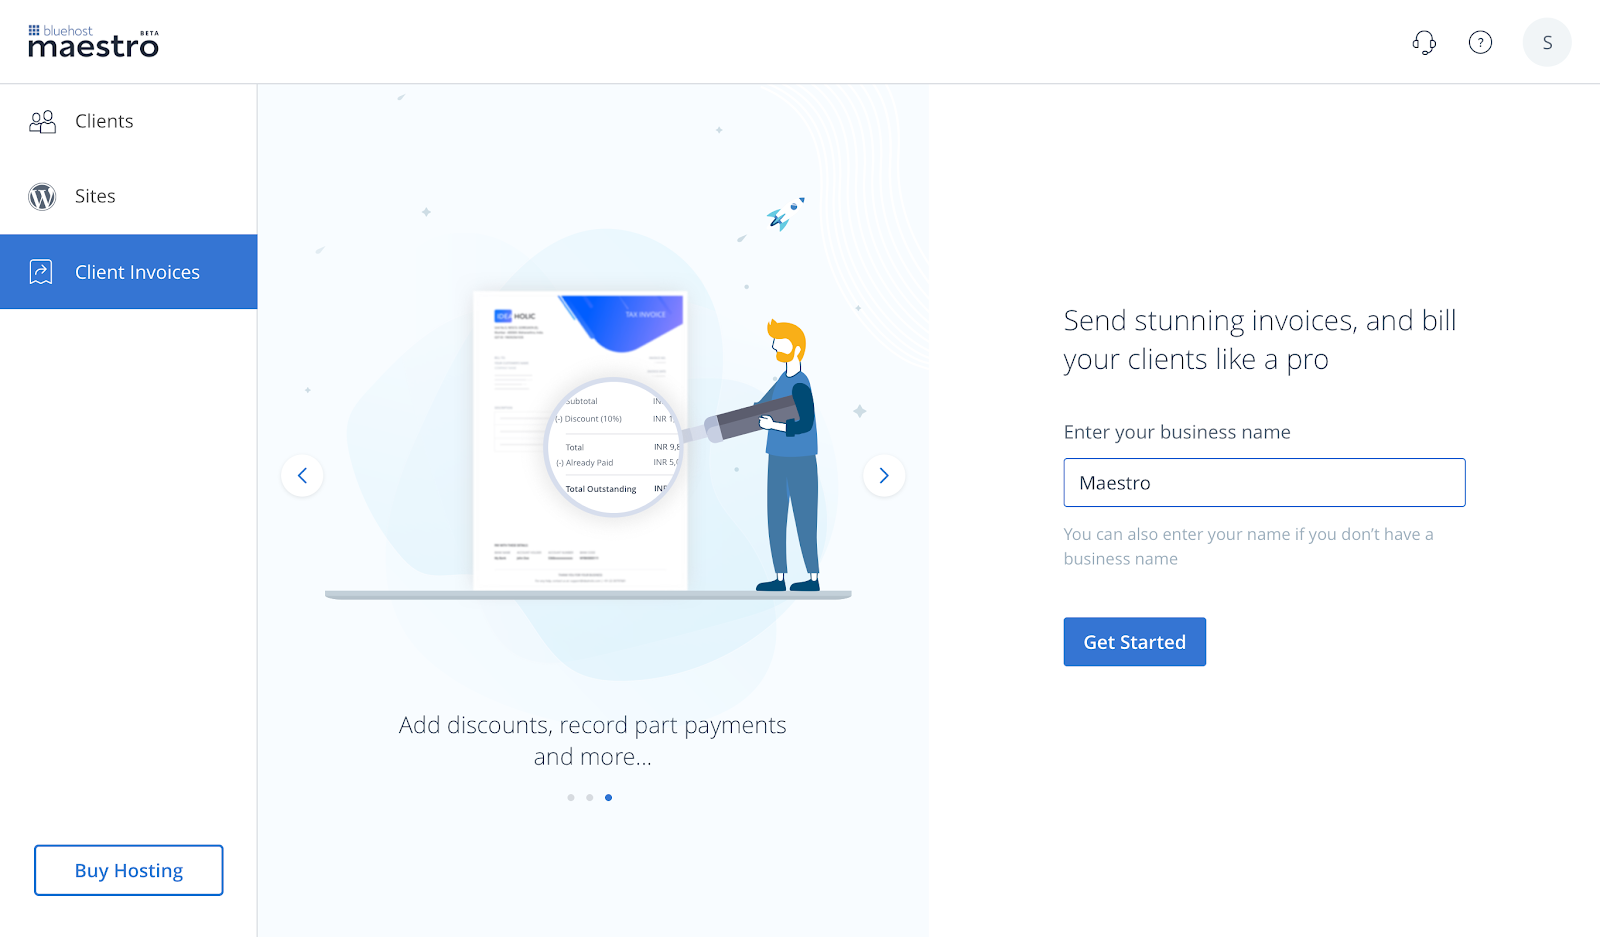
First - Click on "Client Invoices"
Navigate to the side navigation bar on the Maestro Dashboard, then click on Client Invoices.
Next - Enter the Business Name
Next, you will see the invoicing feature highlights. You will need to enter your Business Name to proceed.
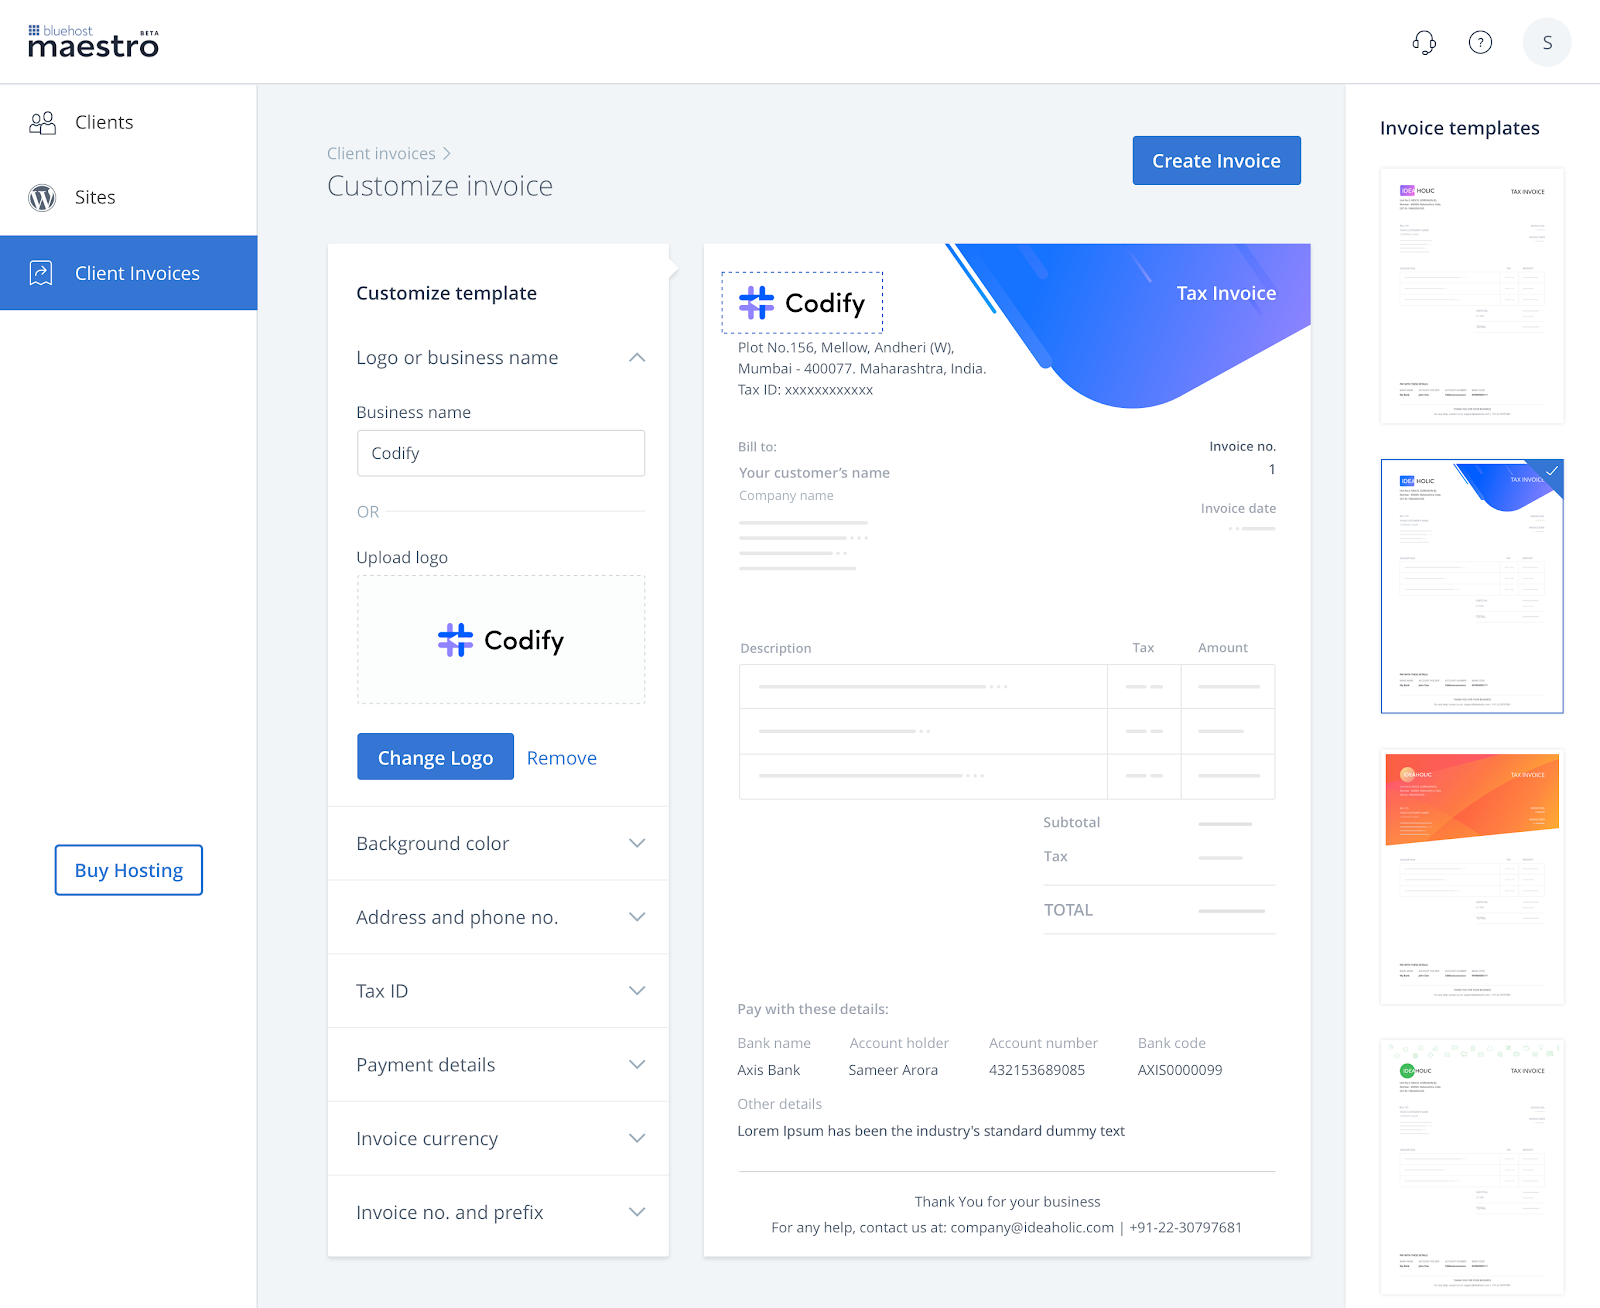
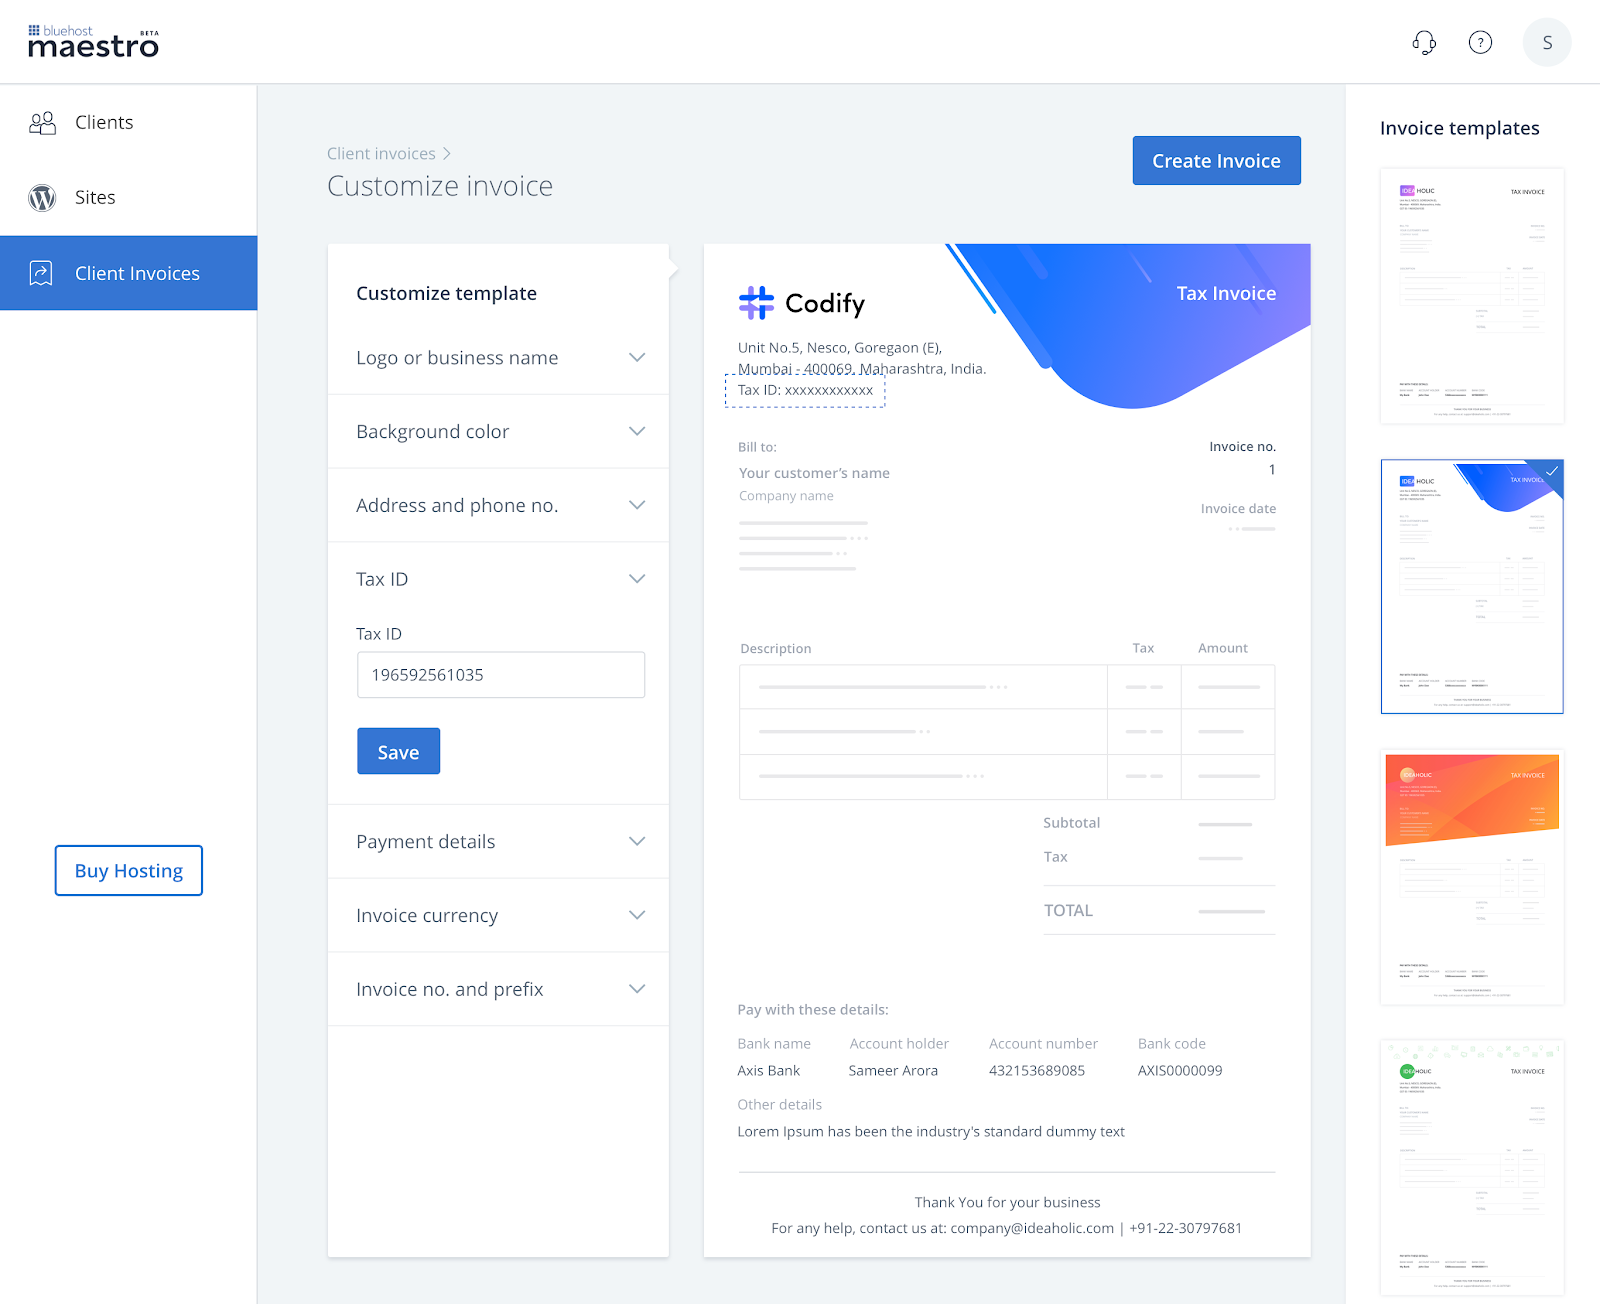
Now - Customize your Invoice Template
Before you can send out your first invoice, you can personalize the invoice as you require. You can modify the following details as mentioned below:
- Adding your business details: You can choose to add your Business Name or your Business Logo. We recommend adding a logo that has your company name. The recommended size for logos is 200 px x 60 px.
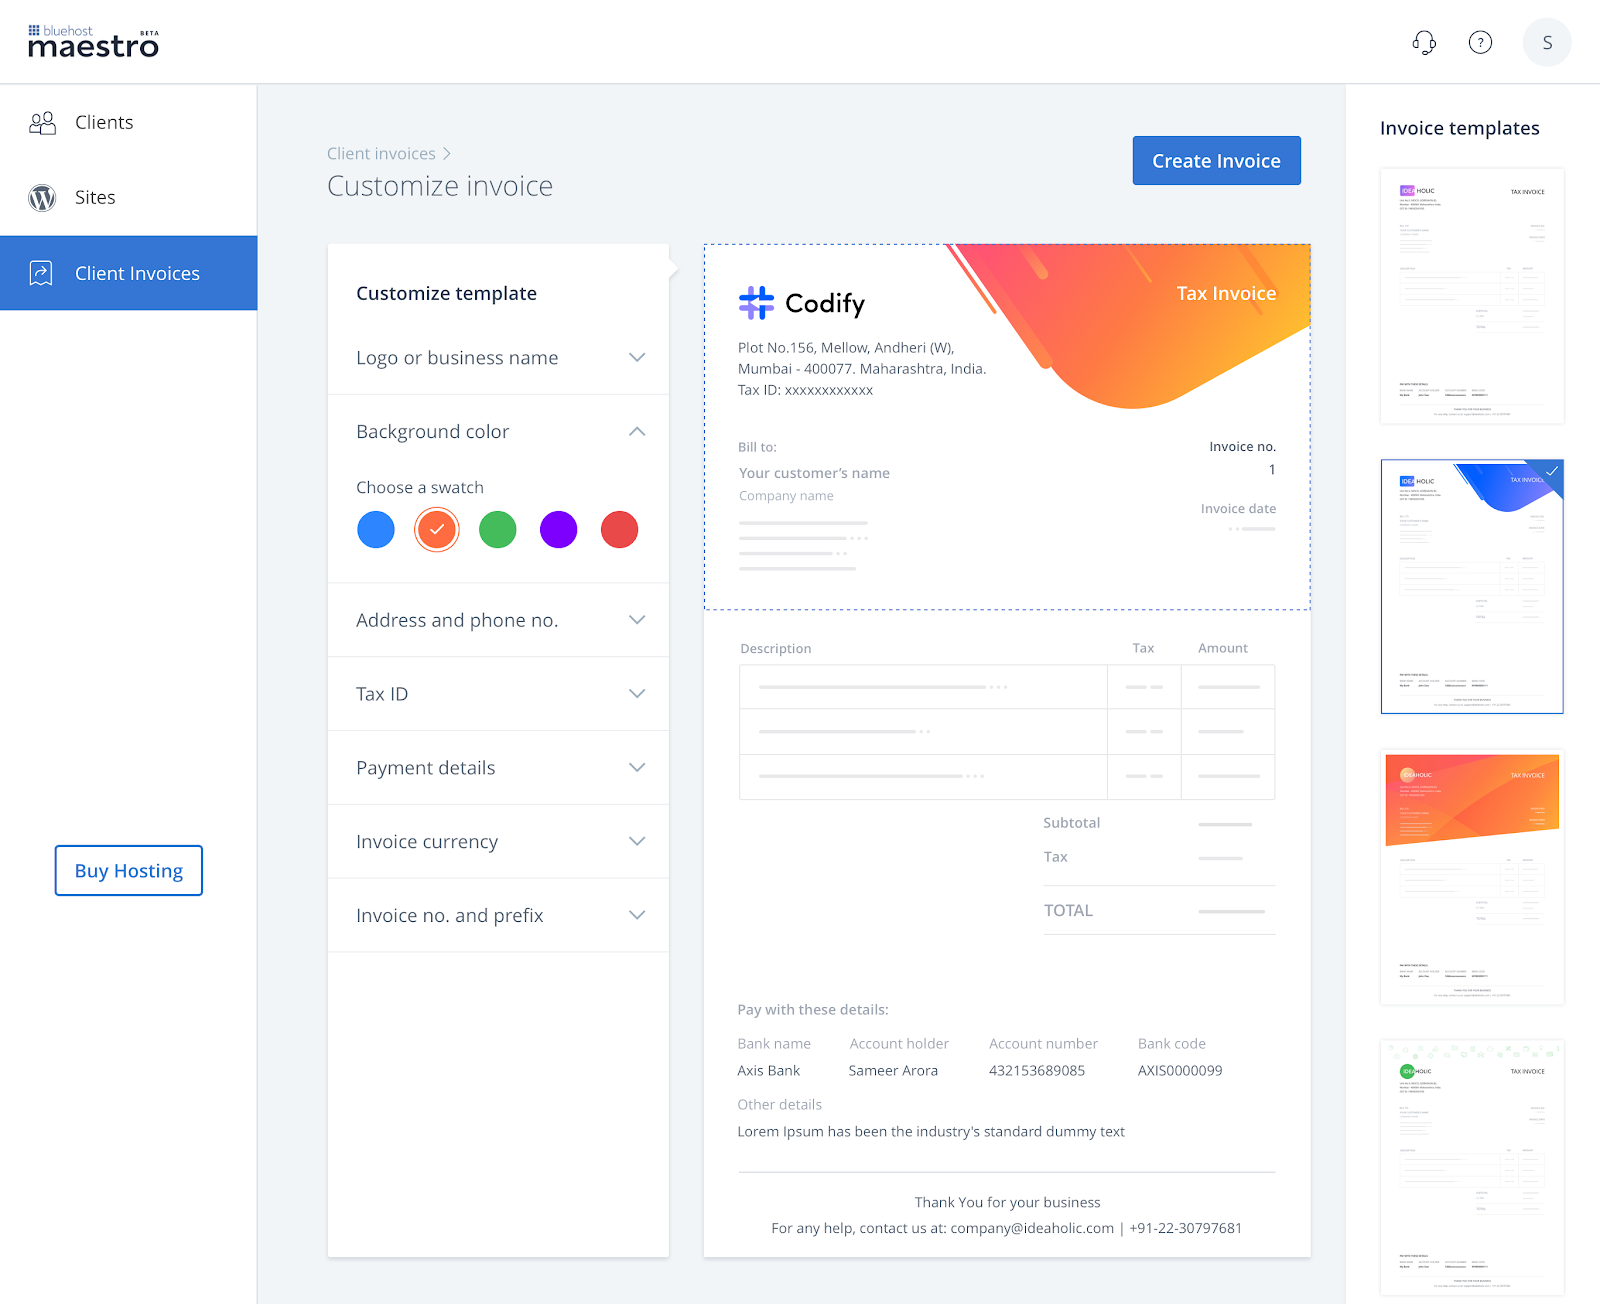
- Changing the background color: Choose from a range of color swatches to pick one that reflects your business identity.
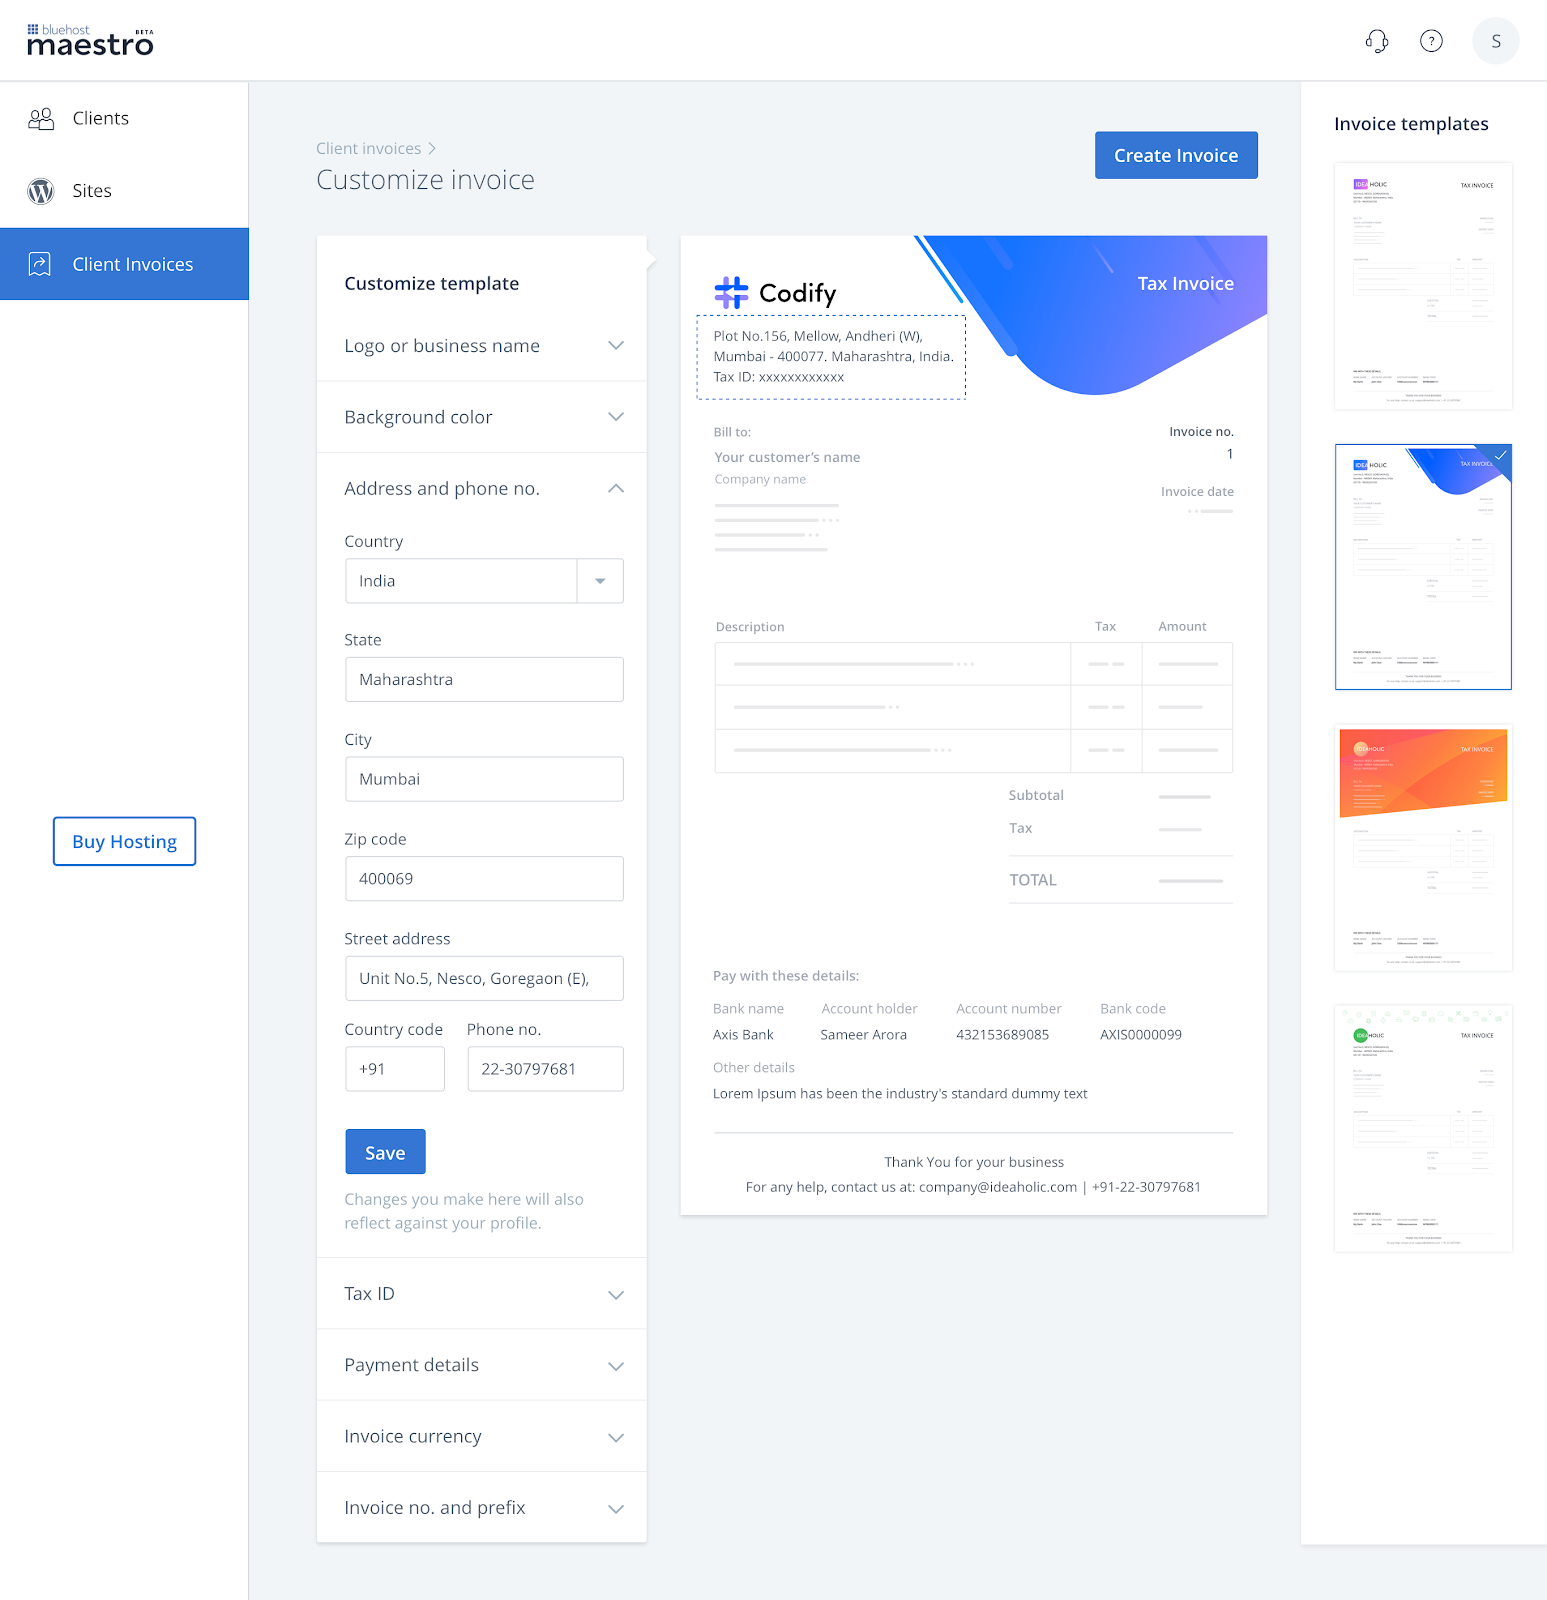
- Adding your billing address and phone number: The address on the invoice is auto-fetched from your profile. Modifying the address on this page will also modify your address on the profile.
- Tax ID: Enter your Tax ID in this field.
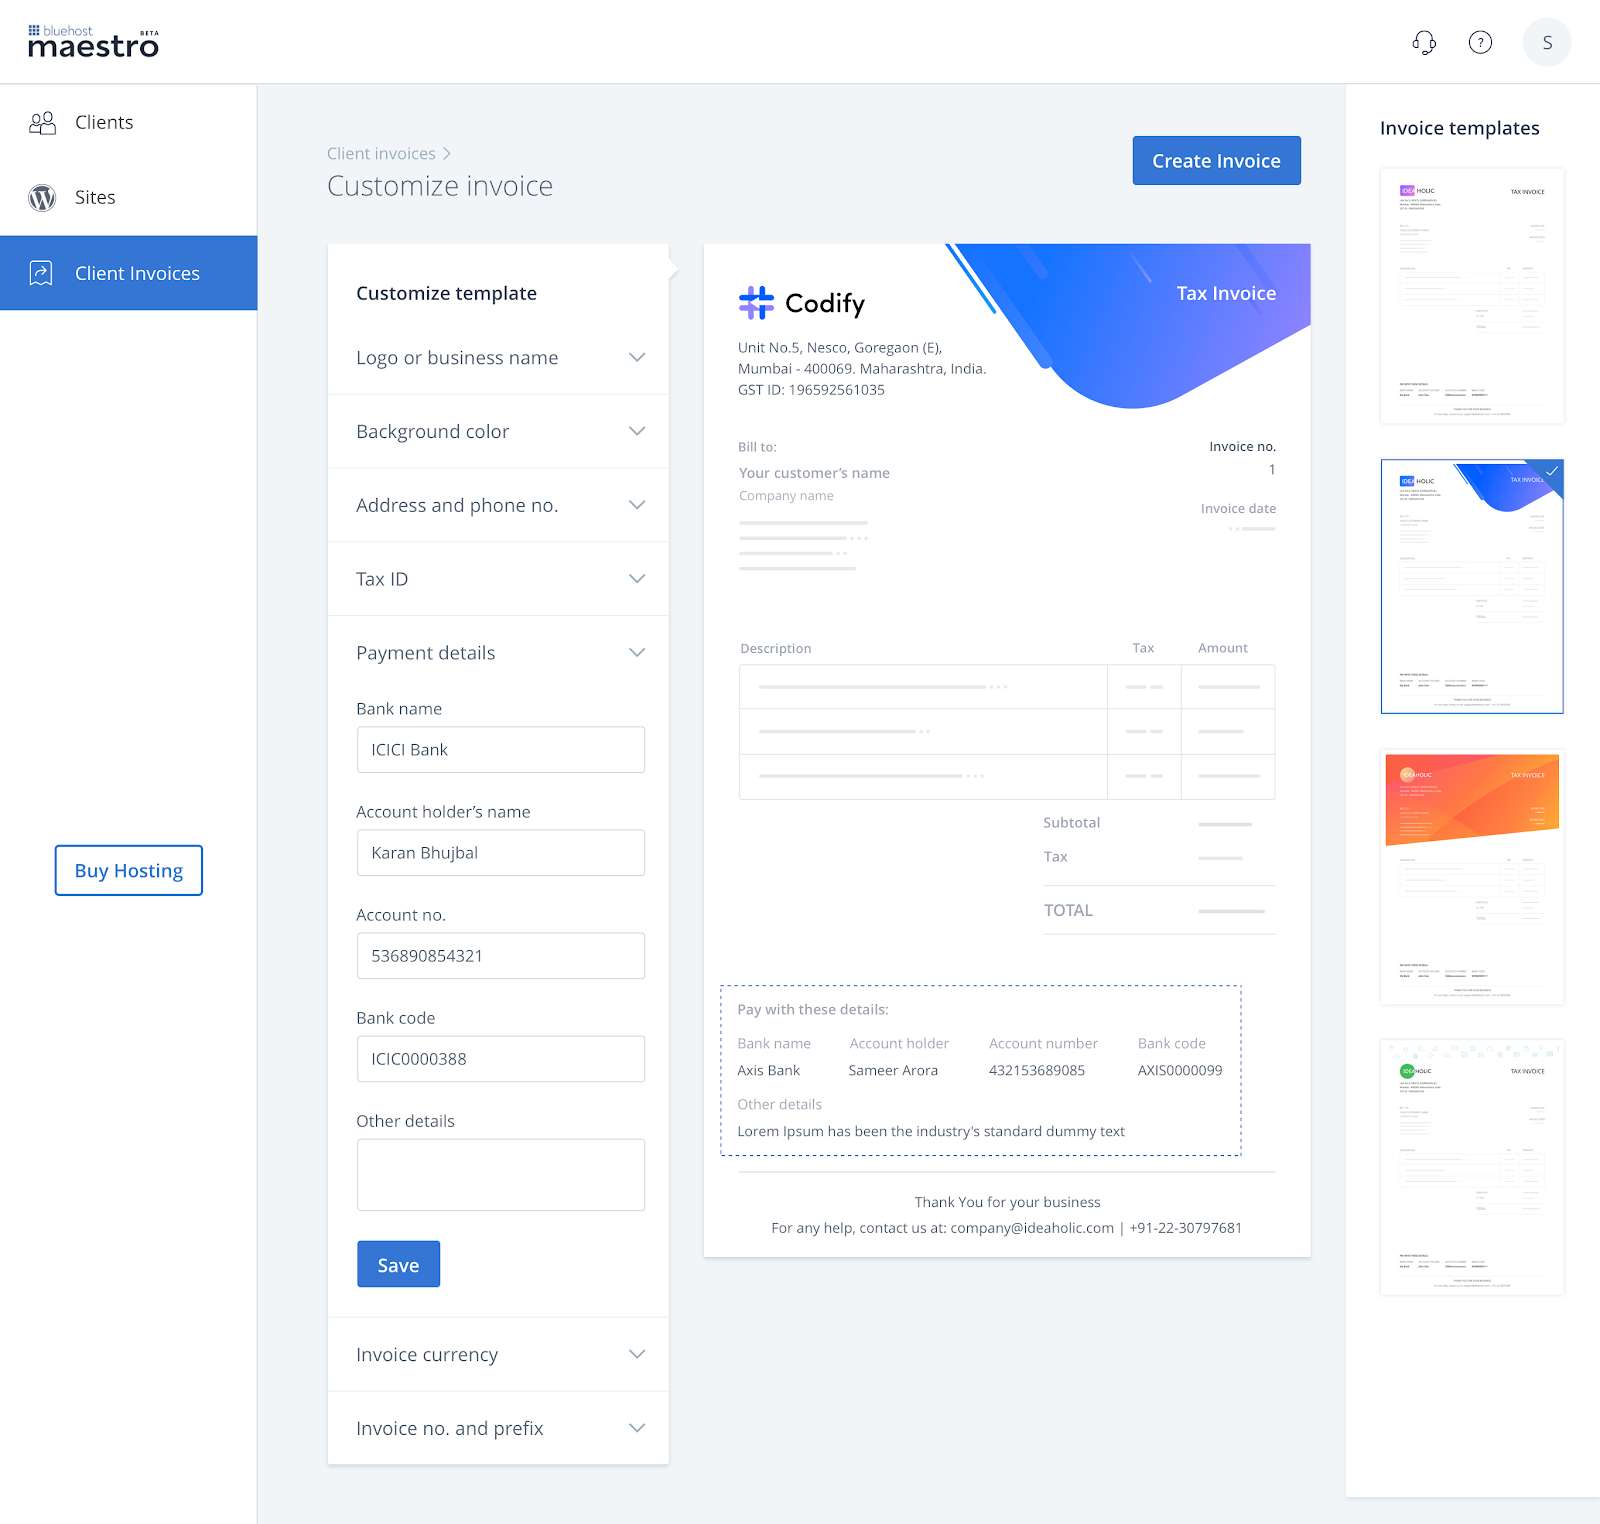
- Adding Payment Details: Add the bank details of the account where you would like to receive the payments for invoices. You can also mention details of additional payment methods that you support.
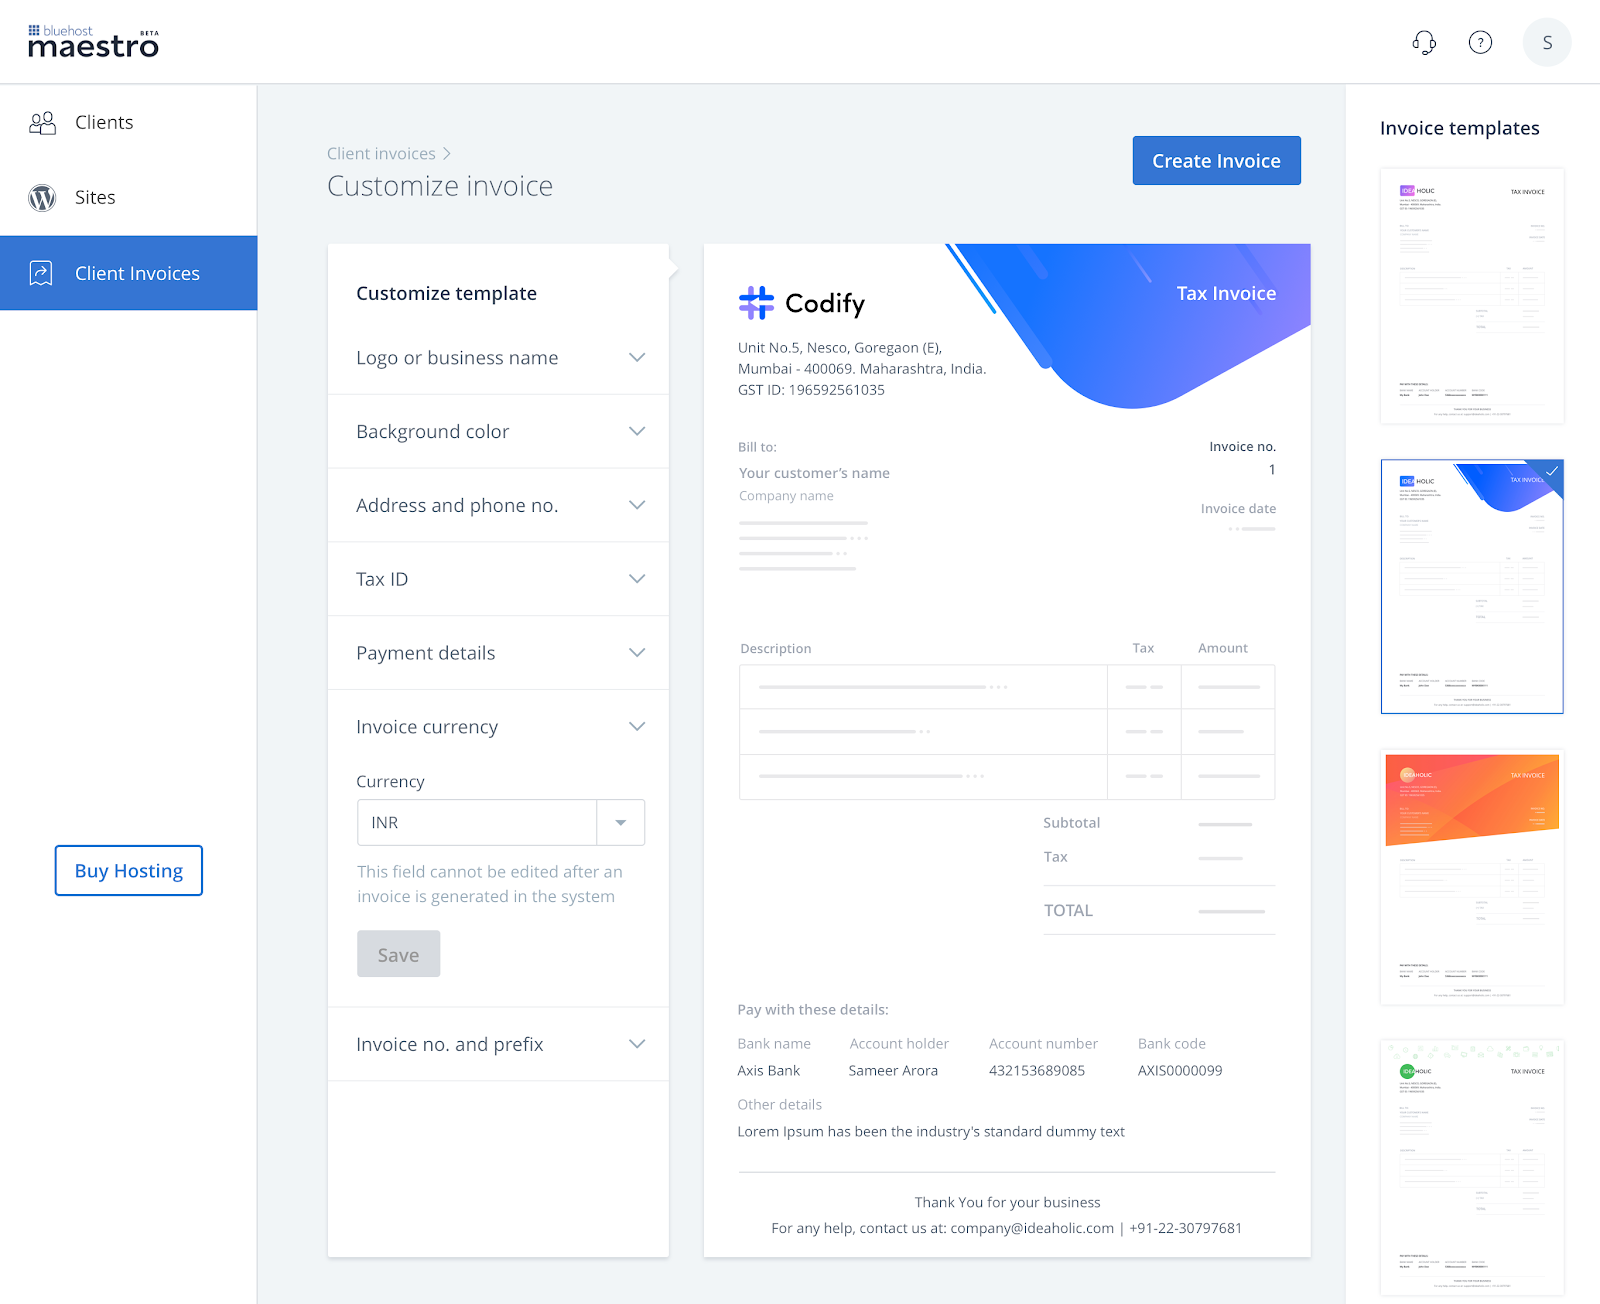
- Invoice Currency: You can set the currency in which you want the invoices to be made. We recommend setting up the currency in which you plan to file your taxes.
Please note: This field cannot be edited once an invoice has been generated in the system.
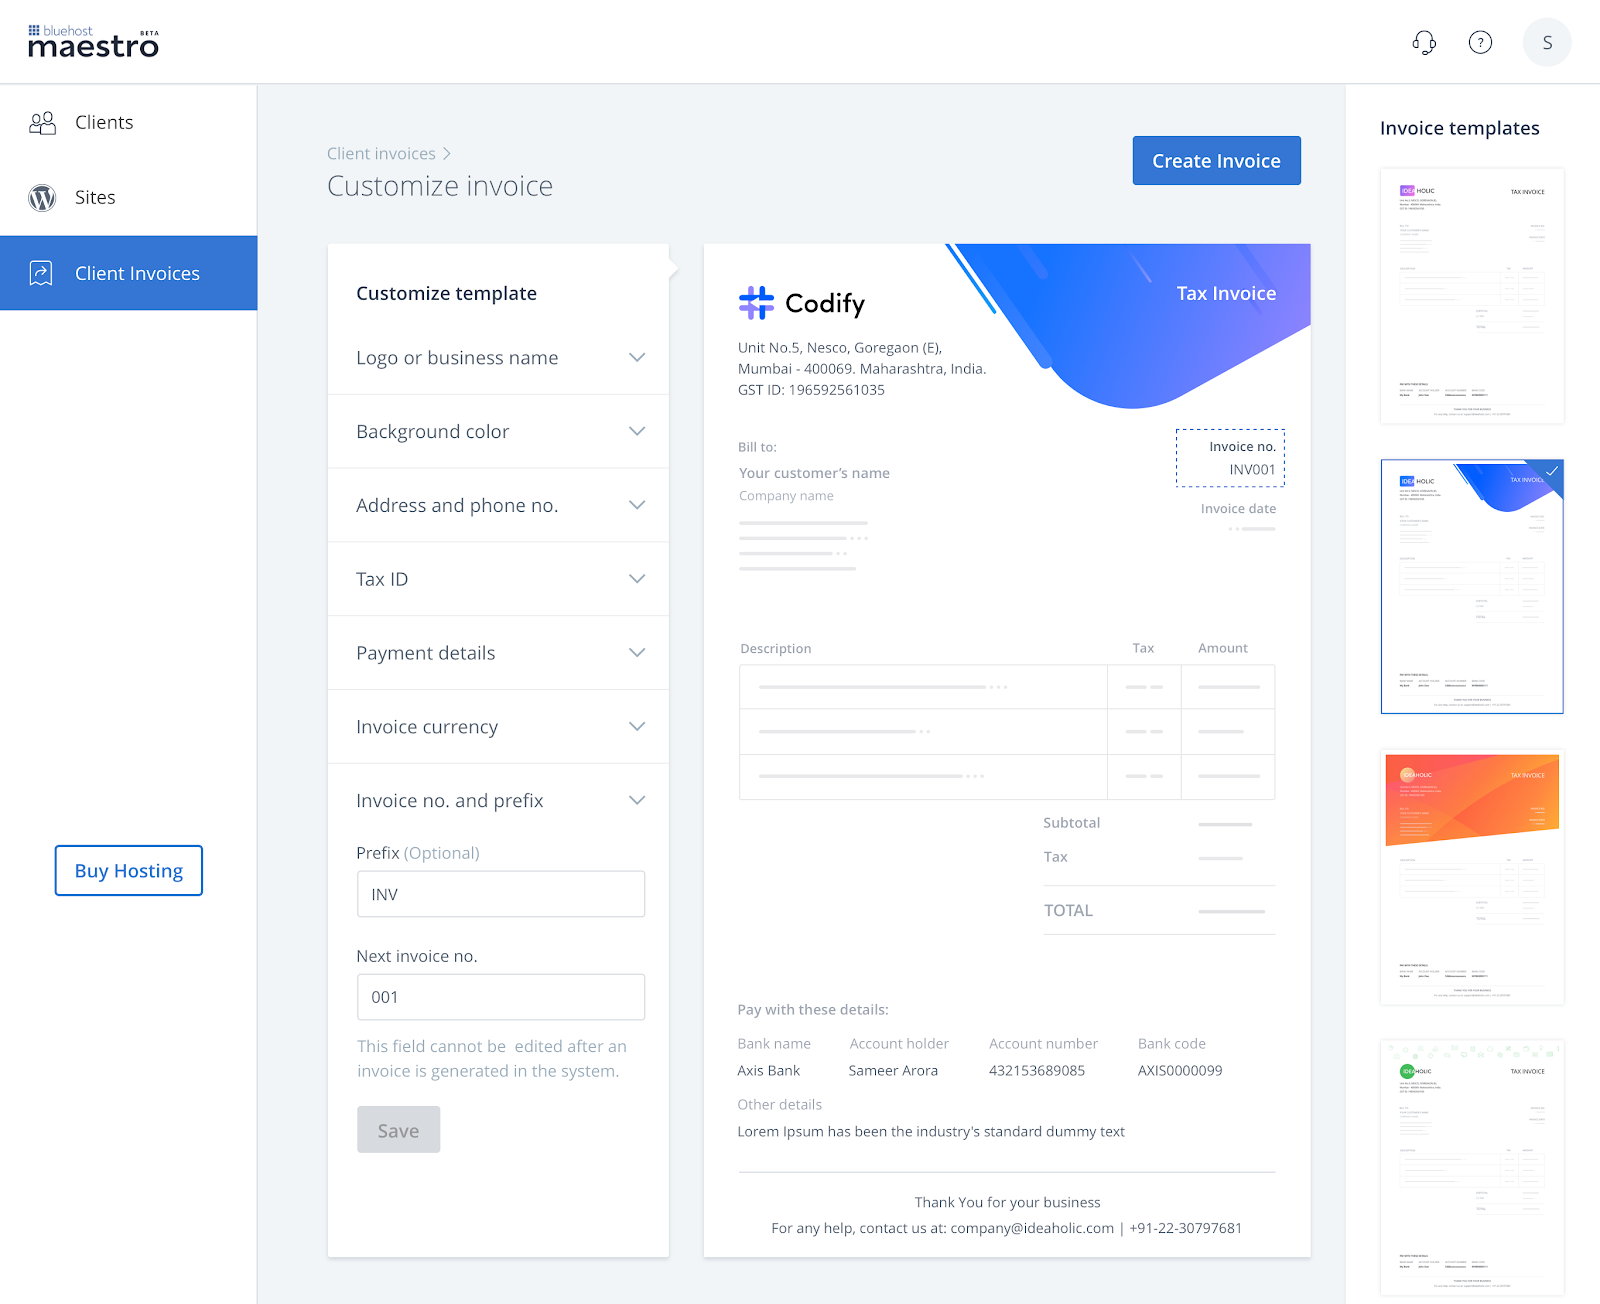
- Invoice ID and Prefix: Your current invoicing tool likely already has many invoices created with a serialized ID. You can switch to the Maestro invoicing by setting up the desired invoice ID and prefix. All subsequent invoices generated will follow this serialization.
Please note: You won't be able to edit this ID once an invoice has been created in the system.
During customization, you can also change the template by choosing one from the section on the right side of the page.
Once you have customized the template, you can begin creating your first invoice.
Creating an Invoice
First, click on Create Invoice at the top of the "Client Invoices" section.
You should see a Create an Invoice page:
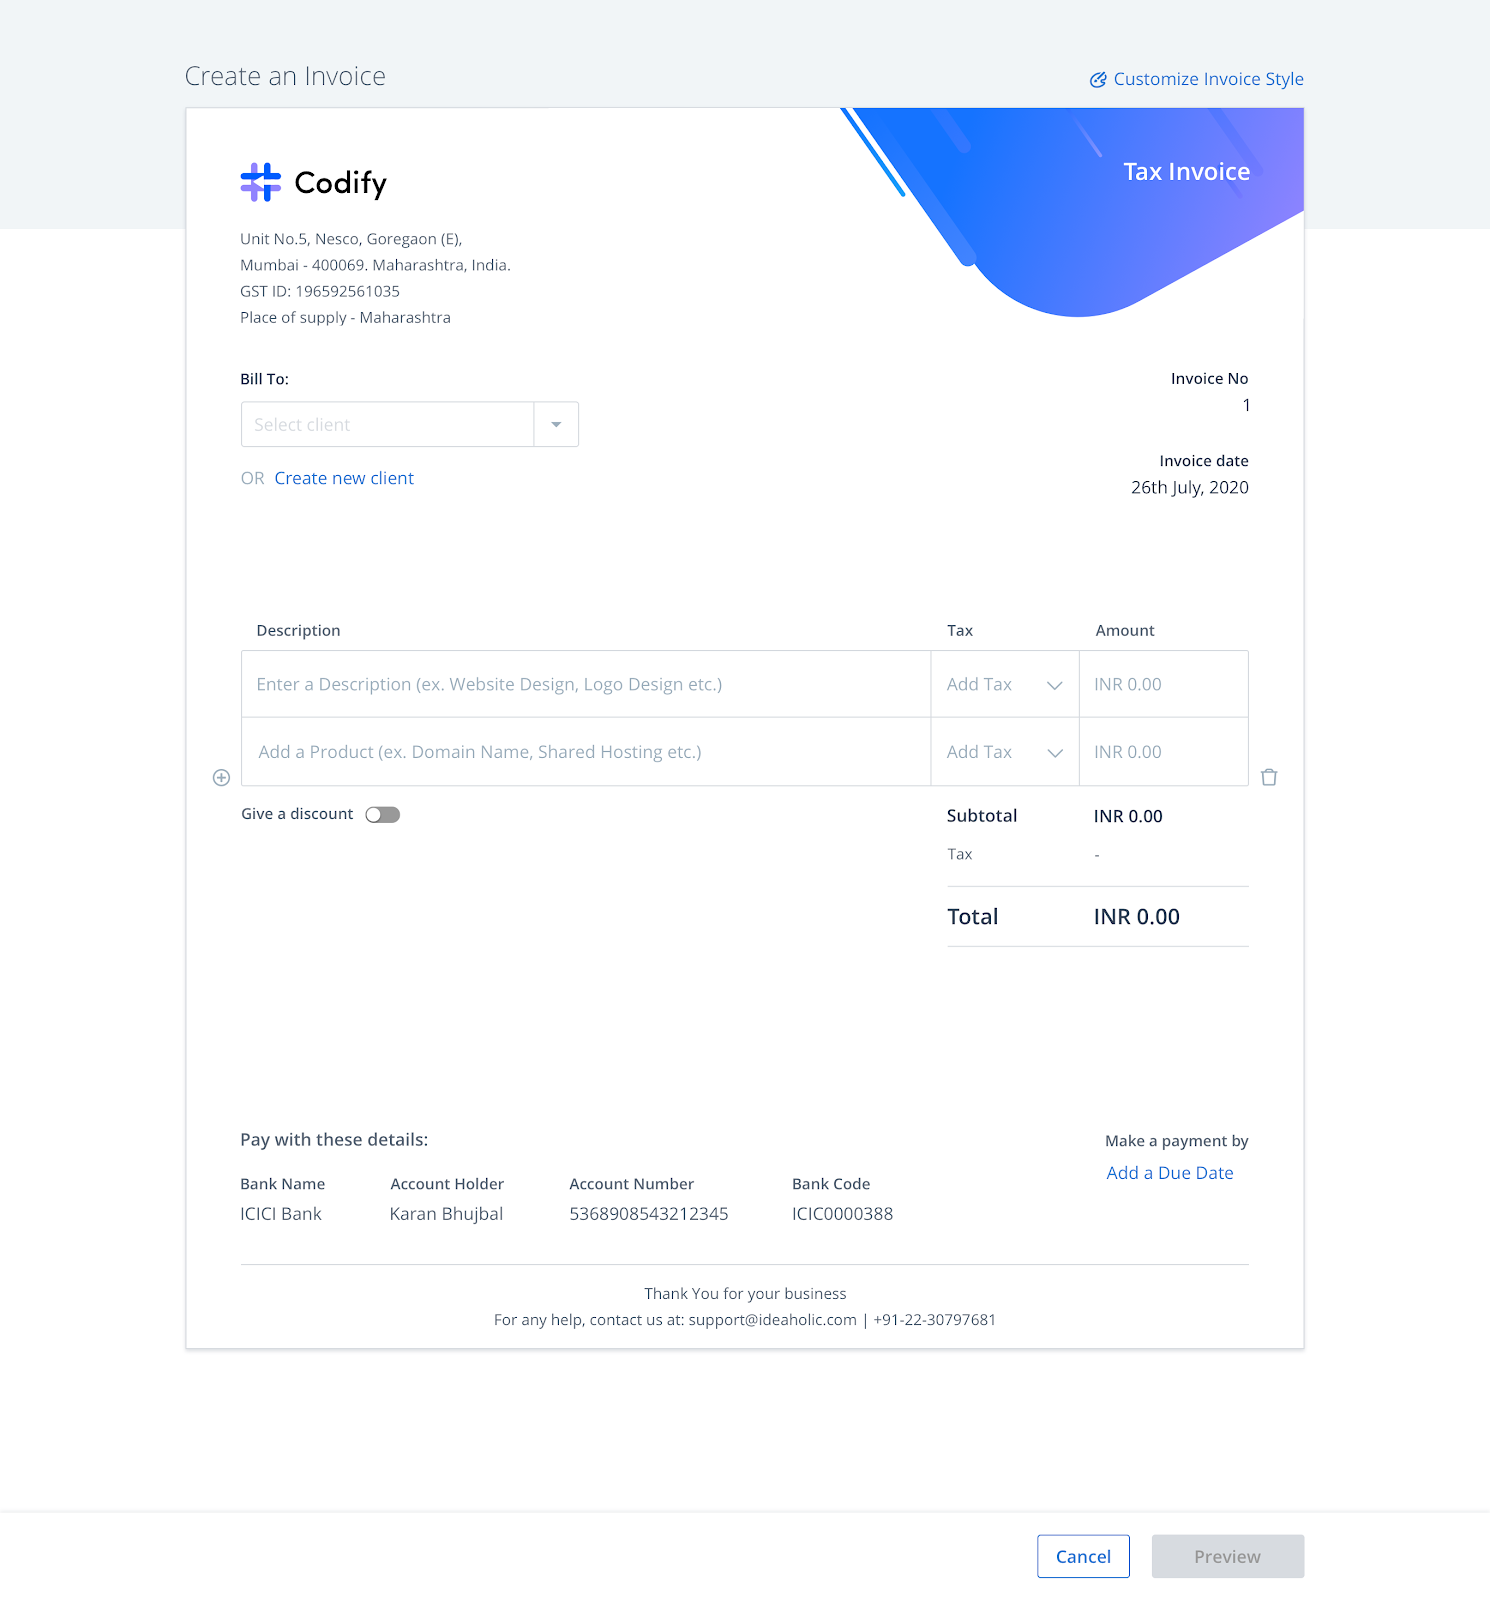
Next, enter the client details. You can search from a list of existing clients or add a new client.
If you choose to add a new client, they will get added to your list of clients.
Enter the Product Description, Tax Details, and the amount.
You will also be able to do the following:
- Add a Line Item to your Invoice: To add a new line item in the invoice, click the + icon. To remove a description, click the 'delete' in the right-hand corner of the line item you wish to remove.
- Give a Discount: While creating an invoice, you can give discounts and record them on the invoice. Discounts on invoices can be given as a percentage or an absolute value. You can do so by enabling the GIVE A DISCOUNT toggle. You will see the discount field added and the total updated automatically.
- Add a Due Date: Once a pending invoice passes the due date, its status will change to overdue. You can filter overdue invoices from the Transactions tab to view all overdue payments. To add a due date to the invoice, select the number of days from the Add due date drop-down, or choose a custom date.
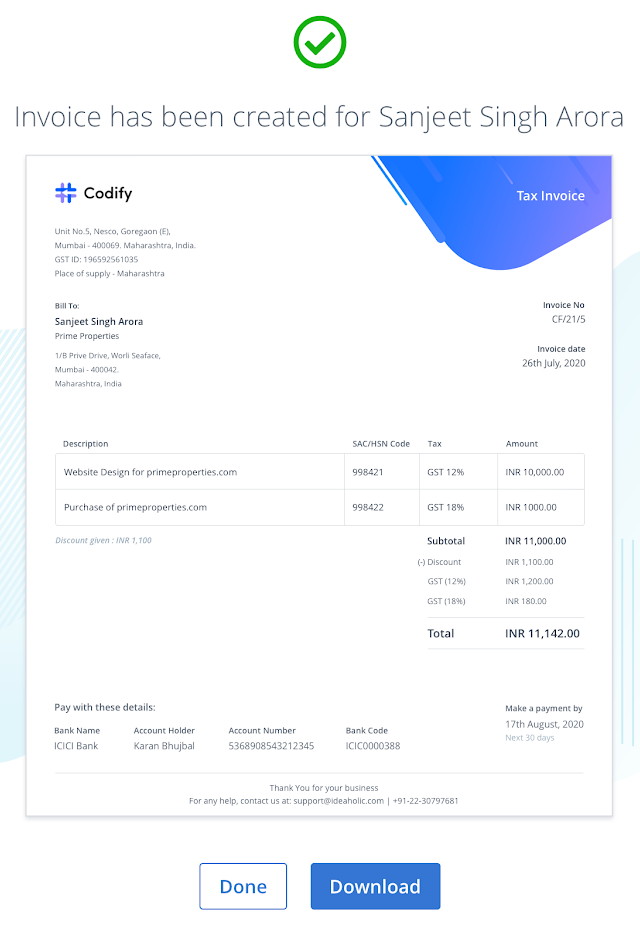
Once details have been added, click Preview, and confirm the details before saving your invoice. If you are creating your first invoice, you will be asked to confirm your invoice number and prefix.
Please note: all subsequent invoices will follow the sequence set from this invoice number and cannot be changed in the future. Make sure to set an invoice number appropriate to your tax filing.
Once you have saved the invoice, you can download it and send it to your client.
Invoice Workflow
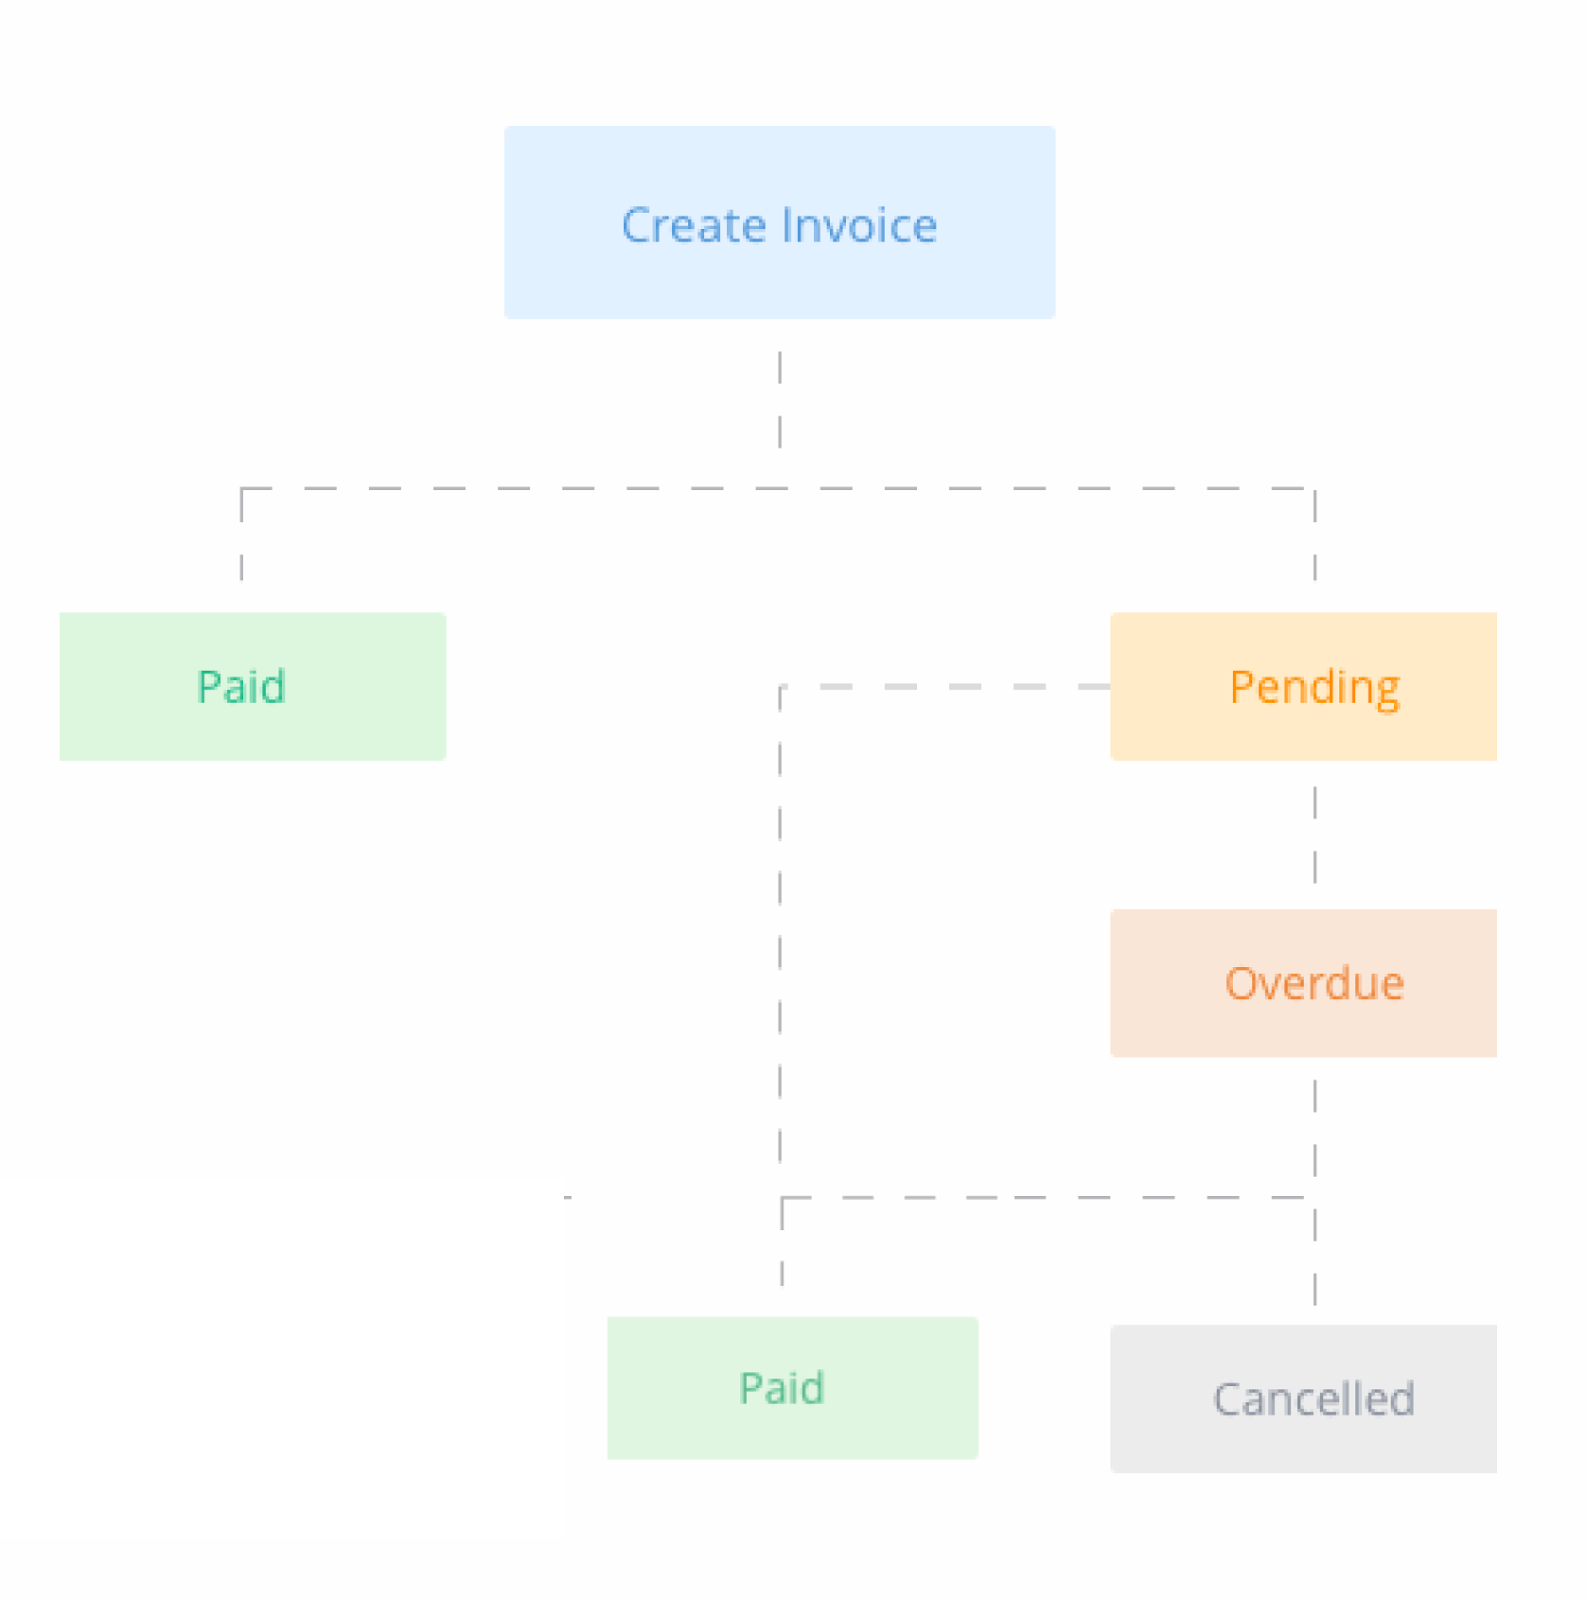
| Invoice Status | Description | Possible Actions |
| Unpaid | When an invoice is unpaid or partially paid, it will reflect a Pending status. | • Mark as Paid • Cancel • Record a Payment |
| Paid | When the total amount is received, the system will automatically mark the invoice as paid. You can also manually mark an invoice as paid. | None |
| Canceled | Once a pending invoice is canceled, you can no longer perform any actions on the invoice. | None |
| Overdue | Once a pending invoice passes the due date, it will move to an Overdue status. | • Mark as Paid • Cancel • Record a Payment |
Managing Invoices
Once an invoice is created, you can take action on an invoice depending on the current status of the invoice.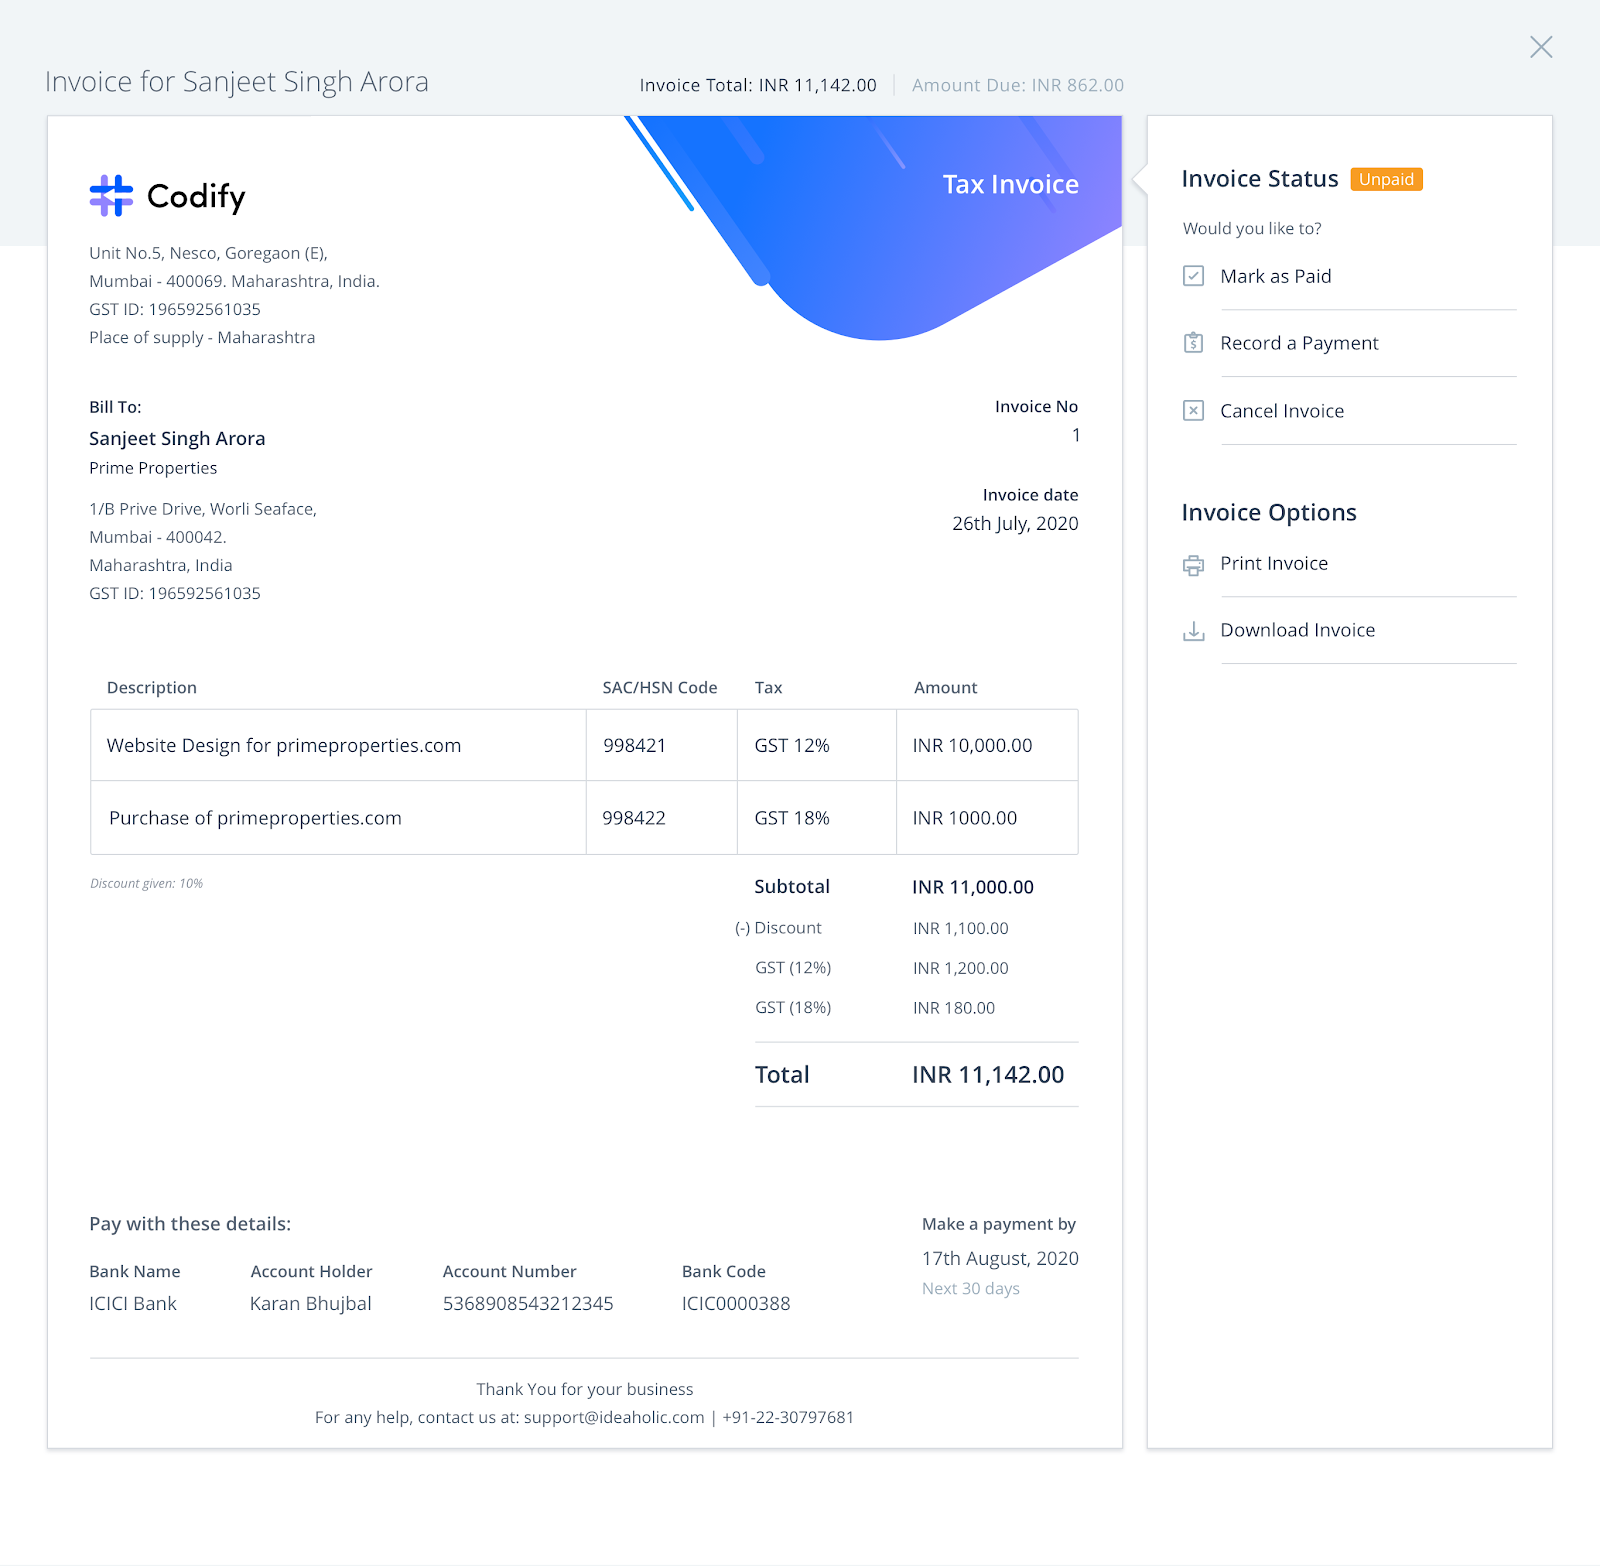
- Record a partial or full payment against an invoice: On the Invoice page, under RECORD A PAYMENT, enter the amount you would like to record a payment for, and click Apply. If this amount is equal to the Amount Due, the invoice status will change to Paid. Otherwise, the Amount Due will be updated to reflect the remaining balance.
- Mark an invoice as paid: In cases where you receive payment from a customer either offline or through an alternate channel, you can mark the invoice as paid by clicking MARK AS PAID.
- Cancel an invoice: If you wish to cancel an invoice for any reason, click CANCEL, add any applicable notes (optional), and click Cancel Invoice.
- Print and download an invoice: To print or download an invoice in a PDF format, click on the respective icon(s).
Please note: this can also be done from the Transactions page.