
Installing WordPress without Automatic Database Creation
This article explains how-to install WordPress when Mojo is unable to create the database automatically.
Create a Database and User
To install WordPress when automatic database creation is not available, you must manually create a database user and assign it to the database. For more information on the process of creating a database and user, see How to Create and Delete MySQL Databases and Users. These are the basic steps.
Creating A New Database
- Log in to your Bluehost cPanel account.
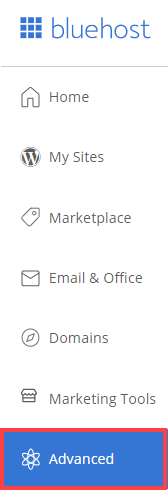
Note: For Bluerock Account: Click on the Advanced tab from the side navigation menu to the left
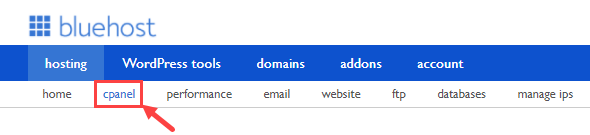
Note: For Legacy Account: Under the hosting tab, click the cPanel from the navigation menu that stretches across the top of your screen.
If you are still unsure what interface your account uses, please see Bluerock vs. Legacy to determine which step to follow.
- Under the databases section, click on MySQL Databases.
- In the new database field, enter a name for the database.
Important: The database name can be anything you like, but I recommend the name be something related to your site. Vague names like "database" or "wp1" may make it harder to tell what the database is for, especially if you have multiple databases.
- Click Create Database.
- Click Go Back.
Creating A New User
- Locate the MySQL Users section.
- Under Add New User, enter a username and password.
- Click Create User.
Assign the Database User
- Under Add User to Database, select the new user from the User drop-down menu.
- Select the new database.
- Click Add.
- Select All Privileges.
- Click Make Changes.
Install Through Marketplace with Database Creation Turned Off
From this point, the installation of WordPress is normal, with one exception. When you get to the installation options page, you must click on Advanced options and disable automatic database creation, then manually enter your database information.
- Go to Marketplace and start the installation.
- Check the "Show Advanced Options" box.
- Uncheck the "Automatically create a new database for this installation" box.
- Enter the new database information.
Database Name The Database Name is the name of the new database you created. Note: Don't forget to include the prefix on the database name, which is your username followed by a "_." The Database name should look something like examplec_exampledb.
Database User The Database User is the name of the new user you created and assigned to the database with all privileges. Note: Don't forget to include the prefix on the user name, which is your username followed by a "_." The Database user should look something like examplec_user.
Database Password The Database Password is the password you created for your database user. Database Host The Database Host should be left at its default value of localhost. Database Prefix The Database Prefix is a random set of characters followed by an "_" you do not need to change this field. - Agree to the terms and click install now.
The install should proceed and use the database you manually created.
If you need further assistance, feel free to contact us via Chat or Phone:
- Chat Support - While on our website, you should see a CHAT bubble in the bottom right-hand corner of the page. Click anywhere on the bubble to begin a chat session.
- Phone Support -
- US: 888-401-4678
- International: +1 801-765-9400
You may also refer to our Knowledge Base articles to help answer common questions and guide you through various setup, configuration, and troubleshooting steps.