
DNS Management - How to Edit MX Records
Overview
A mail exchanger (MX) record is a DNS record that identifies which server will handle your domain's incoming mail. MX records always point to a domain, never to an IP address. When using Bluehost name servers, your default MX record is your domain name which contains a local IP address to the server, so all mail is handled locally, but this record can be modified to point to a third-party email host, or you can add additional MX records and set their priority.
Access the Zone Editor
Account Manager
If you host your email outside of us, your email provider will likely give you their MX Record settings to use. You can change the MX records by logging into your account, going to the Domains section, and accessing the DNS Zone Editor.
- Click theDomainstab.
- Account users will see a vertical navigation menu on the left-hand side of the screen.
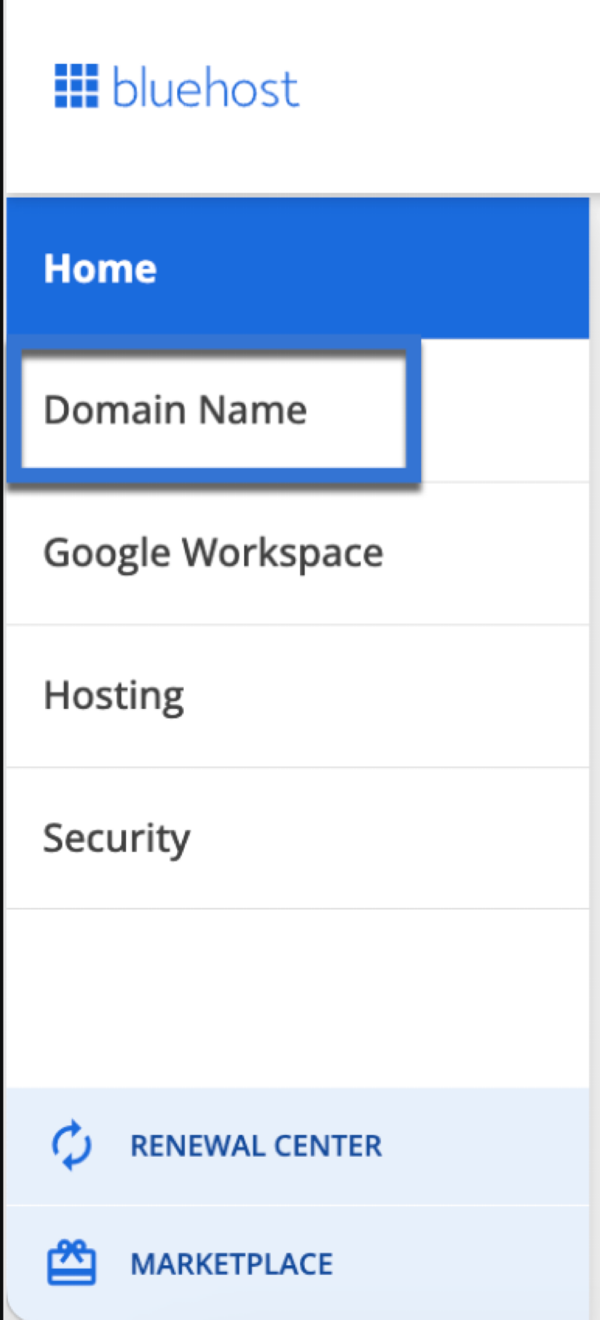
- Click the Zone Editorfrom the sub-menu for Legacy. For Bluehost accounts, click the DNS option under the Manage button.
Bluerock
- Click theDomainstab.
- Bluerock Account users will see the Domains tab on the left-hand side menu.
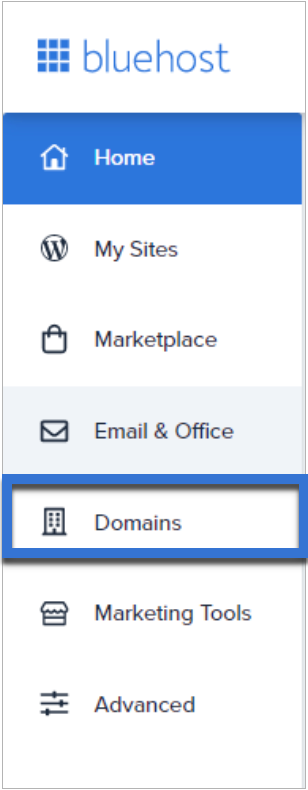
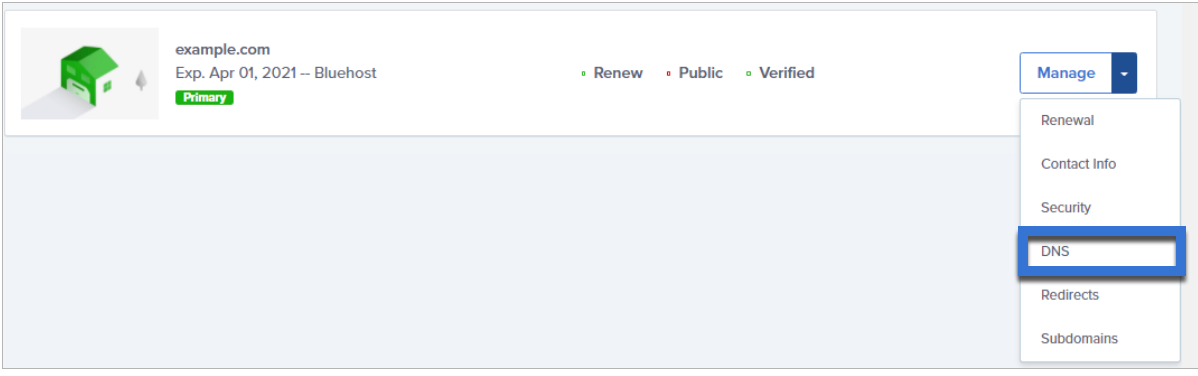
- Click the Zone Editor from the sub-menu for Legacy. For Rock accounts, click the DNS option under the Manage button.
To point your email away from Bluehost, obtain the MX destination for your new mail hosting provider, and then follow the steps below to either add a new MX record or change an existing one. It can take up to 48 hours before your updated DNS settings are live.
Add a New MX Record
Account Manager
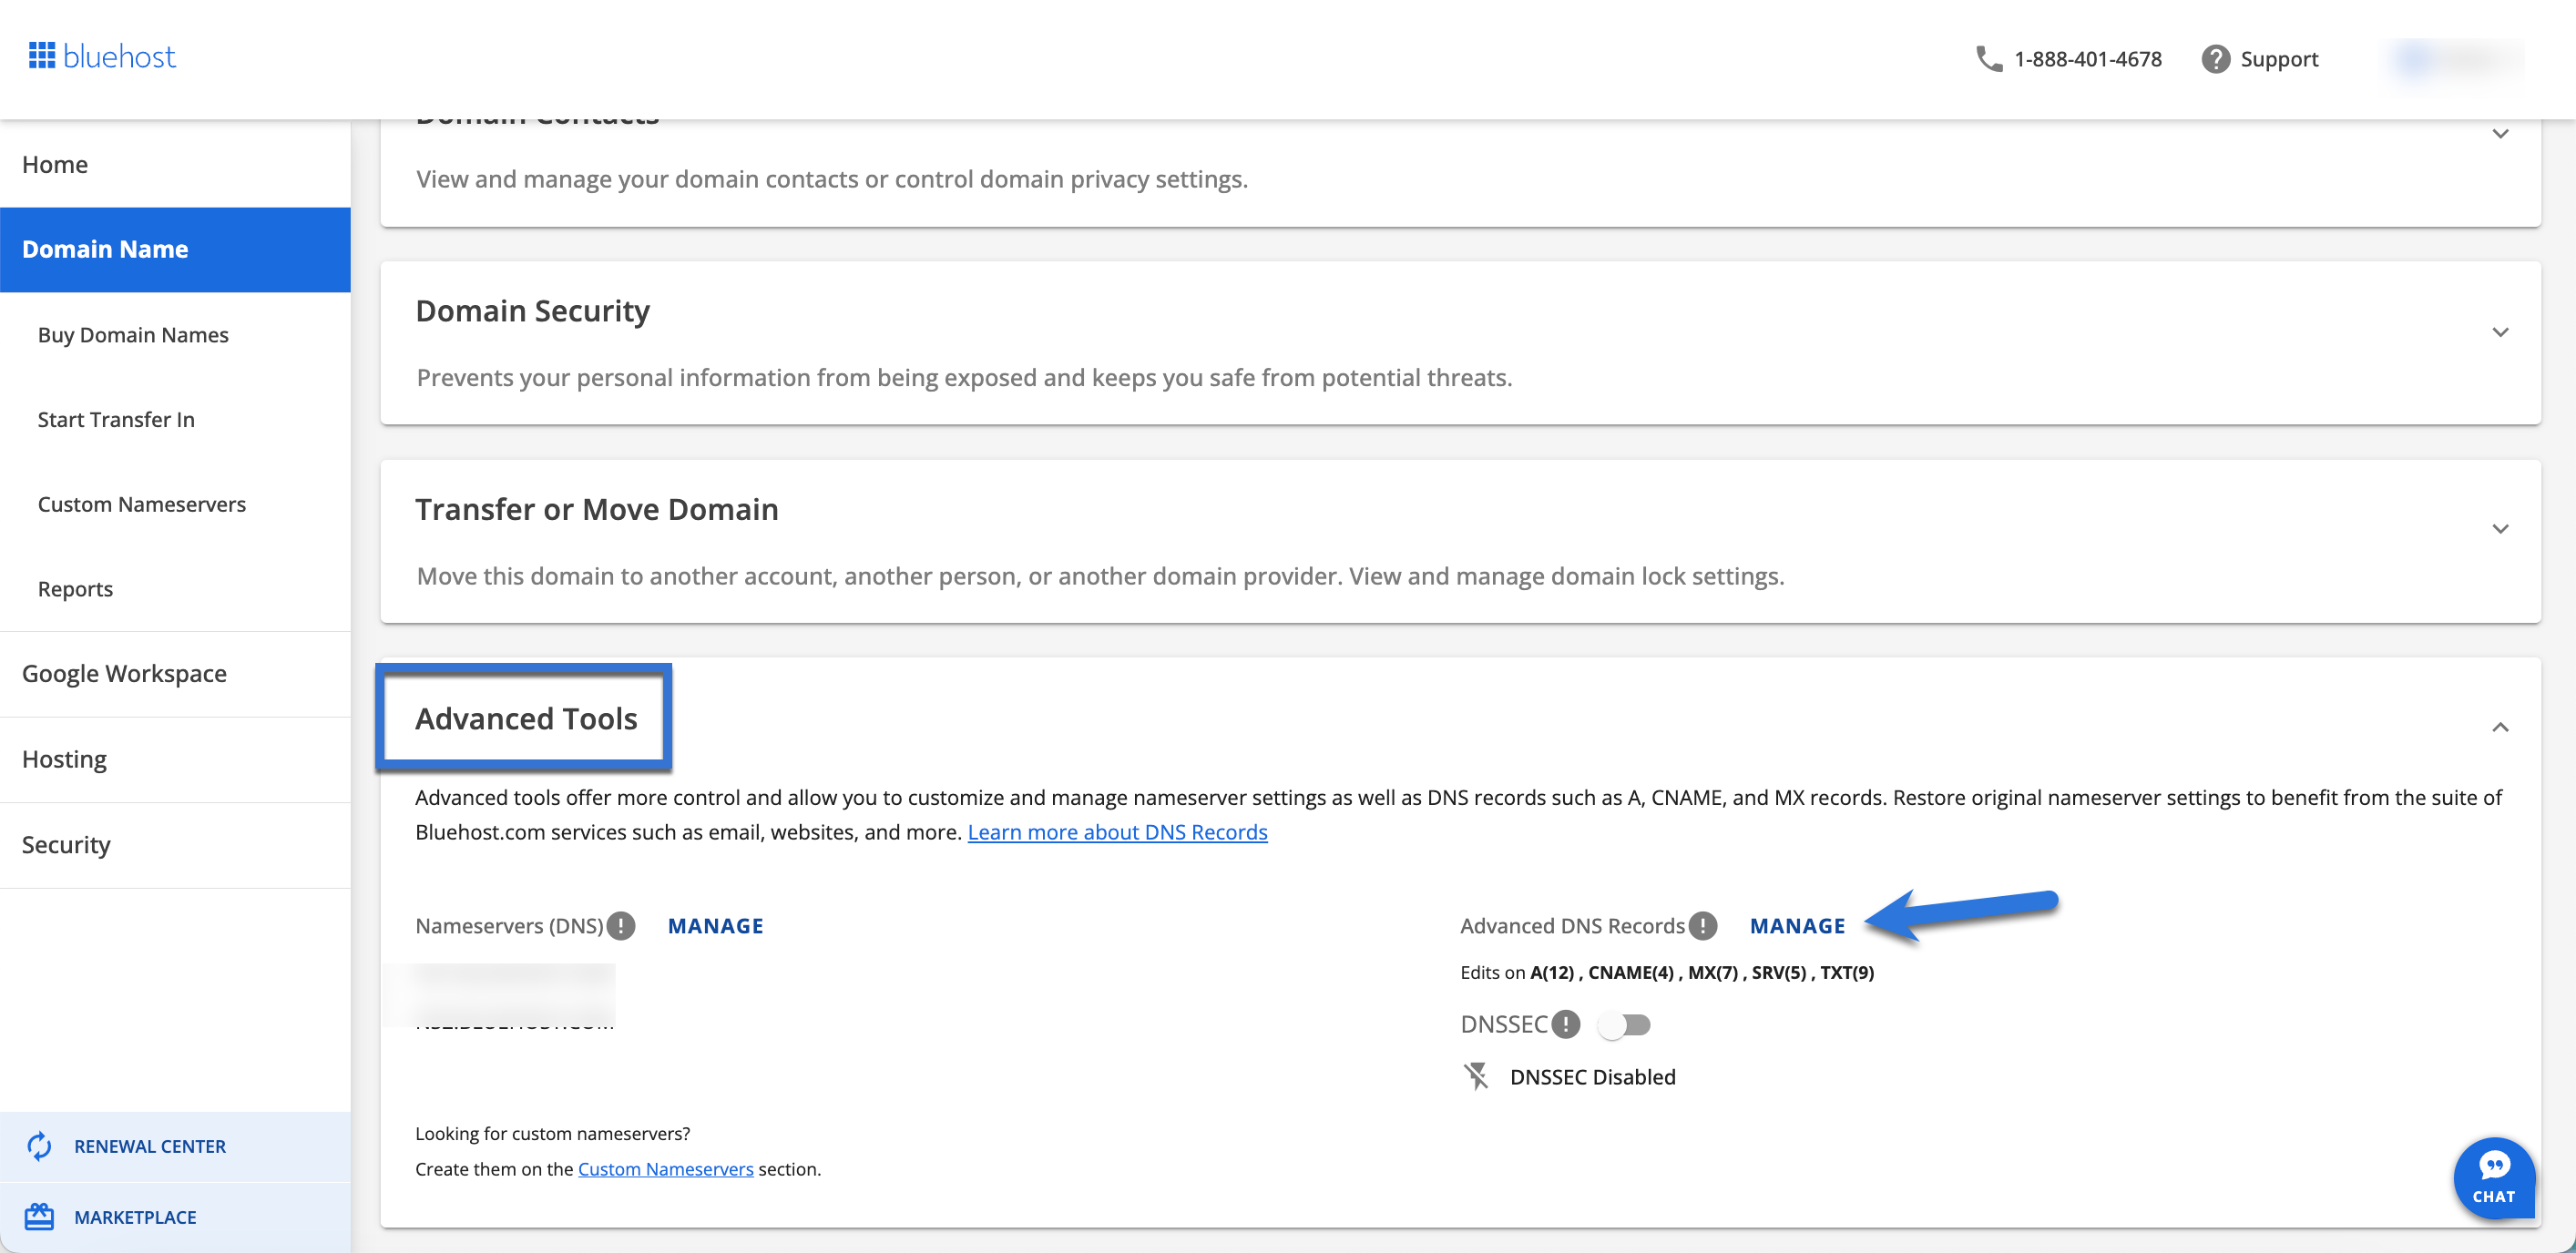
- Under the Domain Name tab, scroll to Advanced Tools and click Manage.
- Click Add Record and enter information in the following fields:
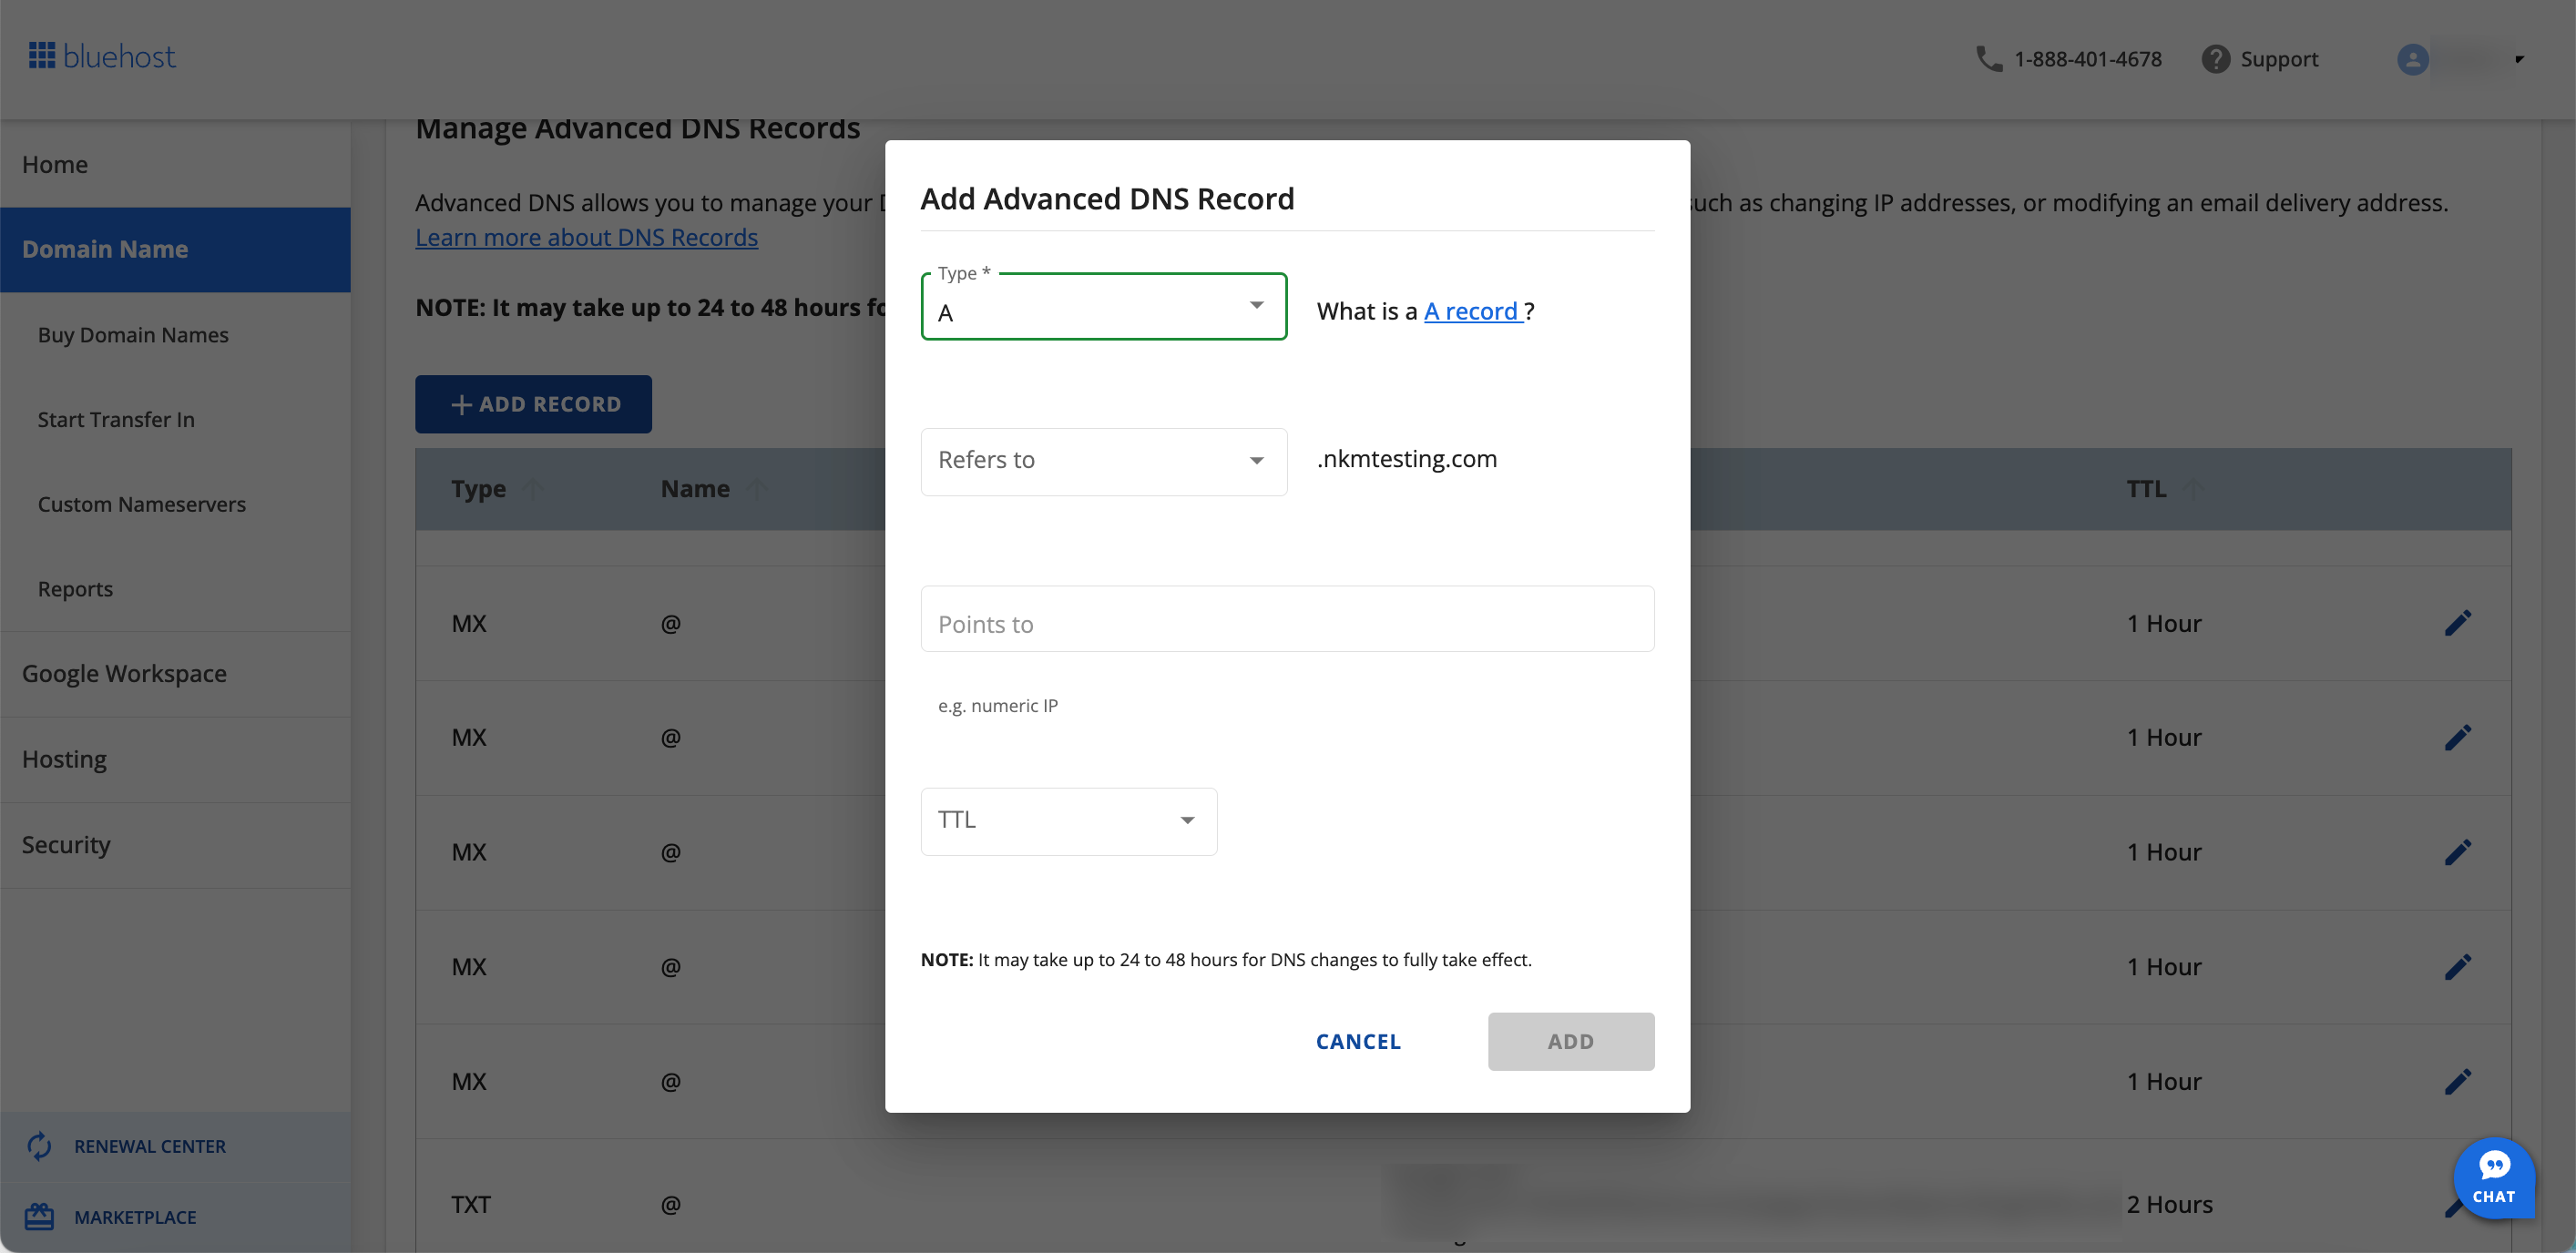
- Host Record-&Enter the domain you're modifying. In most cases, you need to type the @ symbol.
- TTL-Please leave this field at its default setting.
- Type- Select MX from the drop-down menu.
- Points to-Enter the mail server'sname. This must be a domain name, not an IP address.
- Priority- This field dictates how the MX entries are applied. Please refer to your MX entry provider for the proper settings.
- Click Save to finish the process.
Bluerock
- In the DNS Zone Editor, scroll down and locate MX (Mail Exchanger).
- Scroll down to Add Record and enter information in the following fields:
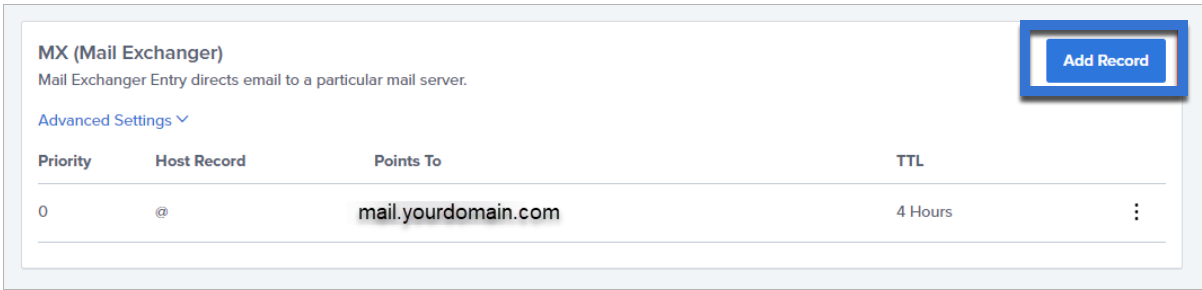
- Host Record -Enter the domain you're modifying. In most cases, you need to type the @ symbol.
- TTL -&Please leave this field at its default setting.
- Type -Select MX from the drop-down menu.
- Points To -&Enter the mail server's name. This must be a domain name, not an IP address.
- Priority -This field dictates the order in which the MX entries are applied. Please refer to your MX entry provider for the proper settings.
- Click Saveto finish the process.
Change an Existing MX Record
- In the DNS Zone Editor, select the domain you're modifying from the drop-down menu.
- Scroll down to MX (Mail Exchanger).
- Find the MX Record you wish to change, then click Edit.

- Update the information as necessary.
- Click Save.
Email Routing
The email routing setting in your Zone Editor determines how outgoing email is handled for a particular domain. There are three possible settings:
| Email Routing | ||
| Local Mail Exchanger | Use this setting if the domain's email is hosted by Bluehost, even if the domain uses third-party name servers. | |
| Remote Mail Exchanger | Use this setting if the domain's email is not hosted by Bluehost and your MX records are pointed to a third-party email server. | |
| Automatically Detect Setting | Use this setting if you aren't sure. The server will decide if the setting should be Local or Remote based on the MX record. This is usually not recommended. | |
It's important for the email routing setting to be accurate for each of your domains to prevent any delivery failure issues. Follow these steps to update your email routing settings:
- In the DNS Zone Editor, choose your domain from the drop-down menu.
- Scroll down to MX (Mail Exchanger).
- Click More to expand the section.
- Choose your setting.
- Click Change to save.
Troubleshooting
If you see errors when sending an email from one Bluehost domain to another, or if emails sent to a particular domain never arrive, it's possible that your email routing setting needs to be updated.
Are you using a third-party mail host?
If you're not using Bluehost to host your emails, you'll need to change the domain's email routing setting to Remote.
I can't send emails to another account on the same server!
This could be a problem with your email routing setting in the DNS Zone Editor. Check your email routing settings to ensure that any domains using Bluehost's mail servers are set to Local, and domains using a third-party mail host are set to Remote.
What does "Temporary Local Problem" mean when trying to send mail?
That is usually a symptom of an incorrect email routing setting. Make sure your Bluehost-hosted domains are set to Local, and domains with email hosted with a third party are set to Remote. If it appears the setting is already correct, change the setting and change it back. This will ensure the email route rule is correctly applied to your domain.
I can send, but I can't receive any email
This could be an issue with your email routing setting in the DNS Zone Editor. Verify your DNS records, and check your email routing settings to ensure that any domains using Bluehost's mail servers are set to Local, and domains using a third-party mail host are set to Remote.
If you need further assistance, feel free to contact us via Chat or Phone:
- Chat Support - While on our website, you should see a CHAT bubble in the bottom right-hand corner of the page. Click anywhere on the bubble to begin a chat session.
- Phone Support -
- US: 888-401-4678
- International: +1 801-765-9400
You may also refer to our Knowledge Base articles to help answer common questions and guide you through various setup, configuration, and troubleshooting steps.